How To Upgrade React Native to Version 0.61?

If you have a project in a version older than React Native 0.61, you should probably start thinking about an upgrade to the latest one.
However, this is not an easy task. I’ve spent quite a few days with ups and downs, trying many methods, but success seems far away.
Luckily, I got there, and now I can make this process much easier for you, and provide a little bit of React Native consultancy.
Hint: This tutorial has been made for Mac OS X.
Two approaches of upgrading to React Native 0.61
1. Upgrading a React Native app in existing projects.
Mind that this is not an official guideline prepared by Facebook. The steps from the official documentation didn’t work in my case.
The easiest way to upgrade is to do it in the existing project.
Somebody made a fantastic tool named rn-diff-purge. This is a tool that compares different versions of react-native and shows you the differences from the source code level, so it is easy to make changes accordingly to the build.
Steps for upgrading a React Native from version 0.59.5 to 0.61.5:
- Go to the diff page (link to diff between RN 0.59.5 and 0.61.5). https://github.com/react-native-community/rn-diff-purge/compare/release/0.59.5..release/0.61.5
- Make changes according to the differences, manually.
- Run yarn/npm to update versions.
- Try to build and run the application.
If there are no errors shown, man you such a lucky person.
If there are some errors, most of them are due to the libraries you are using.
The best way to fix it is to google those issues and look for solutions in Github.
Planning to use React Native for your next project?
2. Upgrading a React Native app by creating a new project.
The second, the oldest and the best way, for now, is creating a new project in the latest react native version.
After that, you should move all the files from the old repo to the one you have just created.
I will explain to you exactly how to do it at the lowest cost and also how to resolve any errors encountered on the way, so you won’t spend endless hours investigating it.
Step 1: Upgrade the React Native library
npm install -g react-native@latestThat line of code upgrade your React Native global library or install a new one if you did not install react native library before.
Step 2: Create a new React Native project
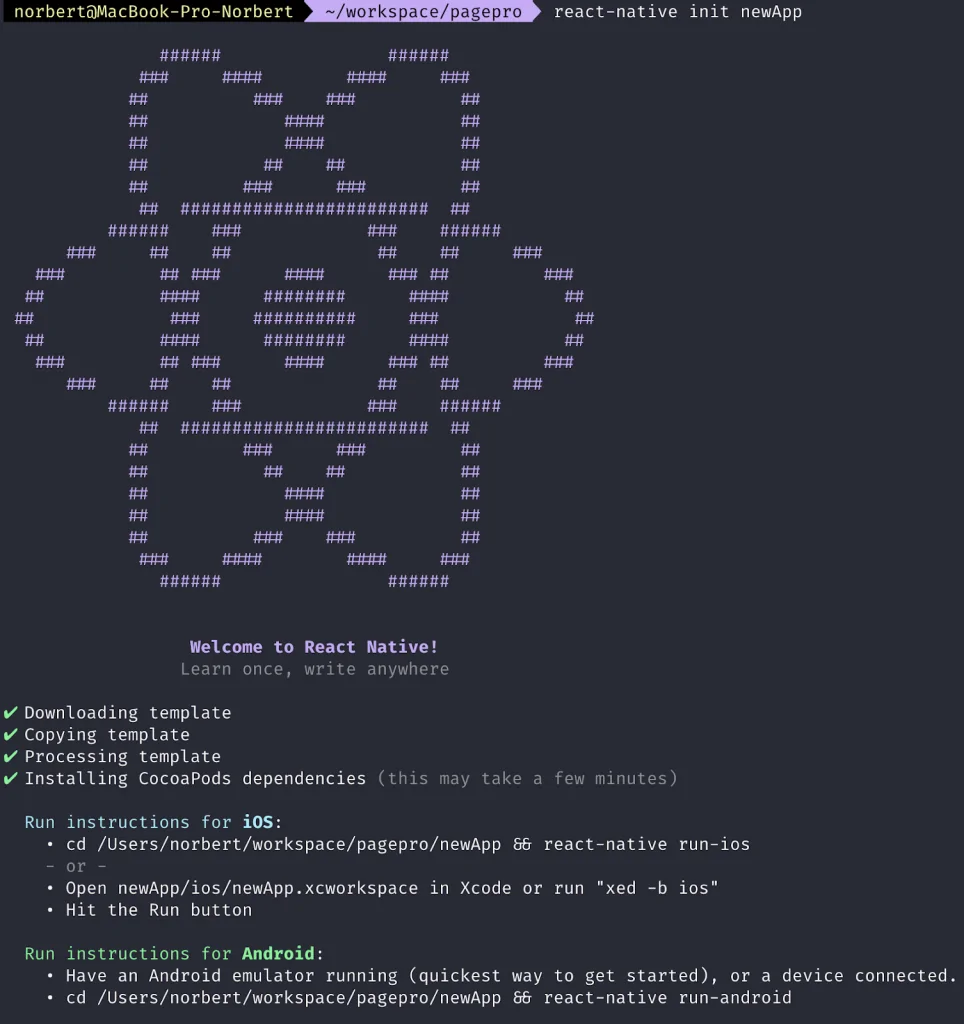
After upgrading the library to the latest version, you have to create a new React Native project. To do this use the command below:
react-native init NewApp
“NewApp” it’s a new RN project name. You can put any name out there if you want.
Step 3: Install Cocoa Pods
In this step, you have to get Cocoa pods installed and install the pod created for your iOS project. To make that happen, put the following command to the terminal:
sudo gem install cocoapodsIn the next step, install the pod file generated in your iOS project. You can easily do it by running:
cd ios && pod installAssuming you are in your new react native project, you should go to the iOS project first (cd ios) and then install pods.
After running this command you should get a result similar to:

Step 4: Upgrade XCode
If your XCode is in the version below 10, then you should upgrade your XCode to a version that is compatible with your Mac OS. You can do it easily using the App Store.
Now, try to open a new project in upgraded XCode and then try to build the app.
The app should be built successfully at this point. Additionally, try to run a new app using react native CLI. To do that, you should put the following command into your terminal:
react-native run-iosStep 5: Migrate source code
If your new application works fine, the next step is to move your source code files from your old react native app to the newly created and upgraded one.
Follow the steps below to do it correctly:
- Copy your src folder (assuming your source code is there) to the new app.
- Copy App.js and index.js from the old to the new one.
- Copy all assets (like images, icons, splashscreen).
- Install all packages used in old
package.jsonexcept react & react-native.
These are the basic ones needed to do a basic code migration.
If you have something more complicated, you might need to copy more configs, code files or do extra installations.
You may also need to go through some files and move the differences between old and new apps. But remember, you must be very careful:
For iOS:
- Podfile– add pods from the old project and again run pod install
- AppDelegate.m – add external libraries (e.g. navigation)
- Info.plist
- Trying to enable the same options in XCode as in the old version.
For Android:
- settings.gradle – add repositories
- android/build.gradle
- android/app/build.gradle – add dependencies
- MainActivity.java
- MainApplication.java – add external libraries
Conclusion
There is no ideal way to upgrade react-native.
Steps presented above are just for a simple, and not too complicated apps. For more complex ones, you might obviously encounter more issues.
In this article, I’ve put ways to fix the most common issues. However, most of the problems come with third-party libraries like navigation, camera, upload files, etc.
You can also meet problems with deprecated libraries that work on the old version and haven’t been updated to new ones.
For those issues, there is only one way – look for a reason in Google or GitHub.


