Getting Your Expo Application to the App Stores
Publishing Expo app is the most important, and often most painful, part of mobile app development. But worry not! We’ve got you covered.
The article I’ve prepared will guide you through the entire process, step by step. We’ll go through the initial app setup and up until the moment users can download your app from the stores.
While explaining the mobile app publishing process, I’ll go over some essentials:
- How to build standalone apps
- What are the requirements and app signings
- And other important things that will make the publishing process easier.
Have problems with publishing or coding your app? Consider outsourcing React Native development to an experienced agency like Pagepro.
I’ll start with frequently asked questions and the requirements your Expo app needs to fulfill.
What Do You Need to Publish an Expo App?
- Expo Account: You will need an account on the expo.dev to use their services, such as EAS Build and EAS Submit.
- Installed EAS CLI: The eas-cli is a tool that will allow you to interact with EAS services from the command line. You need to install and configure it according to the Expo documentation.
- Apple Developer Account. To release apps for the Apple App Store, you need a dev account with $99 USD Apple Developer Program subscription.
- Google Play Console Account. You can’t upload apps to the Google Play Store unless you have a membership, which costs a one-time fee of $25 USD.
If you have all these, you can proceed to the next step: project configuration.
Configure Your Mobile App Project
Before publishing the Expo app, you have to add the build information to the app.json file.
The app configuration files (app.json, app.config.js, app.config.ts) are utilized for setting up Expo Prebuild generation, determining how a project loads in Expo Go, and managing the OTA update manifest.
It’s a little like prepping ingredients for a dinner. What you need is:
- Name: Your app’s name, clear and simple.
- Icon: The visual symbol that represents your app.
- Version: The version number of your app. Typically, devs start with 1.0, or 0.1.0, and go from there.
- Bundle Identifier and Build Number (iOS): These are iOS-specific details for recognition.
- Package Name and Version Code (Android): Android’s version of the same details.
- Slug: An Expo-specific touch for a clean URL.
It should look like this example:
{
 "expo": {
   "name": "test-publish-app",
   "slug": "test-publish-app",
   "version": "1.0.0",
   "orientation": "portrait",
   "icon": "./assets/icon.png",
   "ios": {
     "supportsTablet": true,
     "bundleIdentifier": "com.pagepro.testpublishapp",
     "buildNumber": "1.0.0"
   },
   "android": {
     "adaptiveIcon": {
       "foregroundImage": "./assets/adaptive-icon.png",
       "backgroundColor": "#FFFFFF"
     },
     "package": "com.pagepro.testpublishapp",
     "versionCode": 1
   },
 }
}
Build App with EAS
If you have filled things correctly in the app.json, the next step in publishing the Expo app is triggering the build application by running eas-cli.
With EAS Build, you can generate a fully prepared binary for your app, suitable for submission to the Google Play Store or App Store.
Log In
The first thing you need to do is log in to your Expo account. To do this, enter the following command in the console: eas login. To verify your login status, you can use the command: eas whoami.
Configure EAS
To set up an Android or iOS project for EAS Build, execute the following command: eas build:configure
EAS CLI will carry out the following steps during the project configuration process:
1. Select the Platform(s) You Want to Configure.
When you execute the command for the first time, it will set up your EAS project and prompt you to choose the platform(s) you wish to configure.
If you prefer to use EAS Build for just one platform, that’s completely fine. You can always return later to configure the other platform if you decide to expand.

2. Create eas.json
Running the command will generate an eas.json file in the root directory, containing the default configuration. The file should look like this structure:
{
  "cli": {
    "version": ">= 12.6.2",
    "appVersionSource": "remote"
  },
  "build": {
    "development": {
      "developmentClient": true,
      "distribution": "internal"
    },
    "preview": {
      "distribution": "internal"
    },
    "production": {
      "autoIncrement": true
    }
  },
  "submit": {
    "production": {}
  }
}
This is your EAS Build configuration file. It includes three predefined build profiles: development, preview, and production for each platform.
You can create additional profiles like debug, testing, and others as needed. To explore more about eas.json, refer to the Configuration with eas.json documentation.
In certain situations, additional configuration might be necessary:
- If your app relies on environment variables, make sure to include them in your build configuration.
- Is your project part of a monorepo? Follow the dedicated instructions for monorepo setups.
- Does your app rely on environment variables? Include them in your build configuration.
- Do you use private npm packages? Add your npm token to the configuration.
Run a Build
Important: To start the build process for app stores, you’ll need a developer account for the store and either create or provide the app signing credentials.
If you’re not familiar with creating app signing credentials, don’t worry. You can choose to let EAS CLI manage the app signing process for you and take care of the hard work.
Do you have an idea for a mobile app?
Building for Android
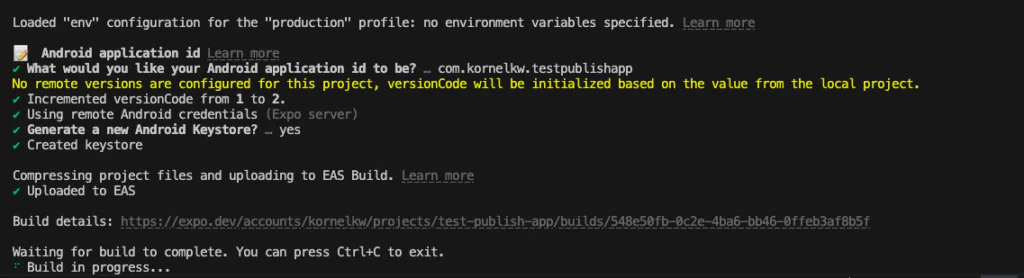
Start by building the app for the Android platform. To do this, use the following command: eas build --platform android
If the android.package field in the app.json file hasn’t been filled out yet, you’ll be asked to enter a bundle ID. Pressing “Enter” will automatically select the placeholder name displayed.
Once this step is completed, the app.json config file will be updated automatically as well.

After confirming, you’ll see something like this:

Why was the the versionCode was automatically updated from 1 to 2? Because the autoIncrement option is set to true by default in the eas.json file.
The Android credentials used for this come from the logged-in Expo account. You can read more about certificates here.
As we can see in the image above, eas-cli is asking us about the Android Keystore. There are two options available here:
- Option 1: If you haven’t created a keystore for your app yet, you can allow EAS CLI to handle it by choosing Generate new keystore. Once selected, the process is complete, and the keystore will be securely stored on EAS servers.
- Option 2: If you prefer to create the keystore manually, refer to the manual Android credentials guide for detailed instructions.
In the end, you should see this:
You’ve successfully built the Android app. Congratulations!
By default, the eas build command waits for your build to finish, but you can stop it if you don’t want to wait.
To track the progress and review the logs, follow the link to the build details page provided by EAS CLI once the build process begins.
Now, let’s check how it looks on the build dashboard page.
Check Build Dashboard
In the Builds tab, you can review all the requested builds. As shown below, our app is currently being built.
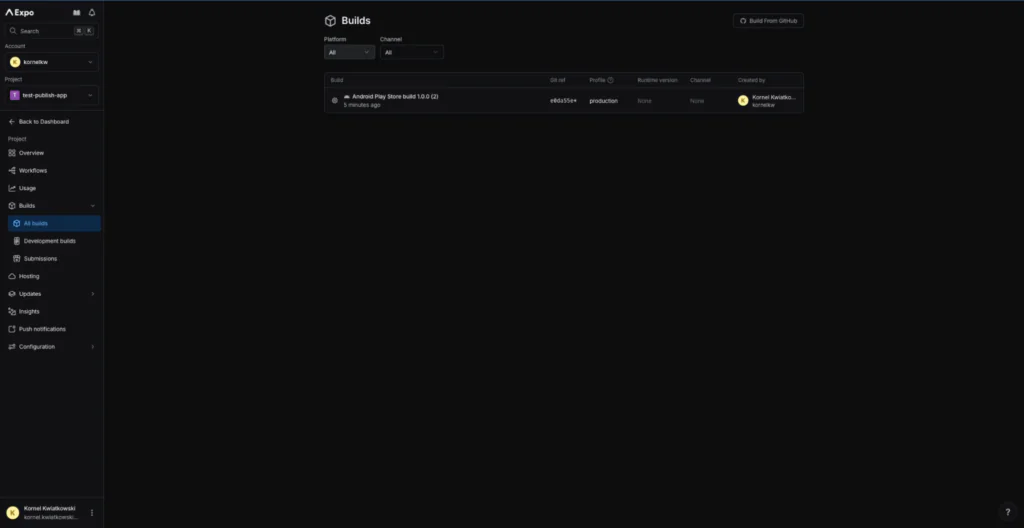
You can dive deeper and check which processes are being executed during the app build. The logs will be helpful in case of any failures.
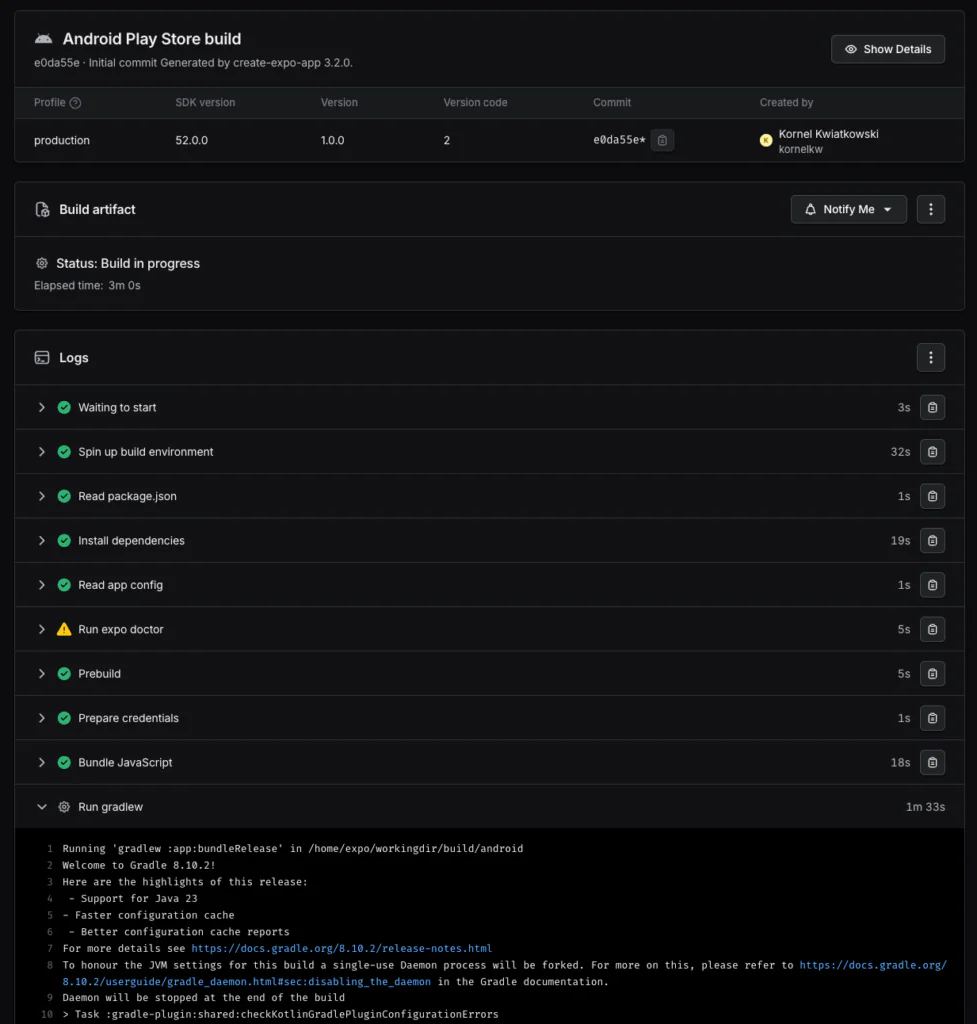
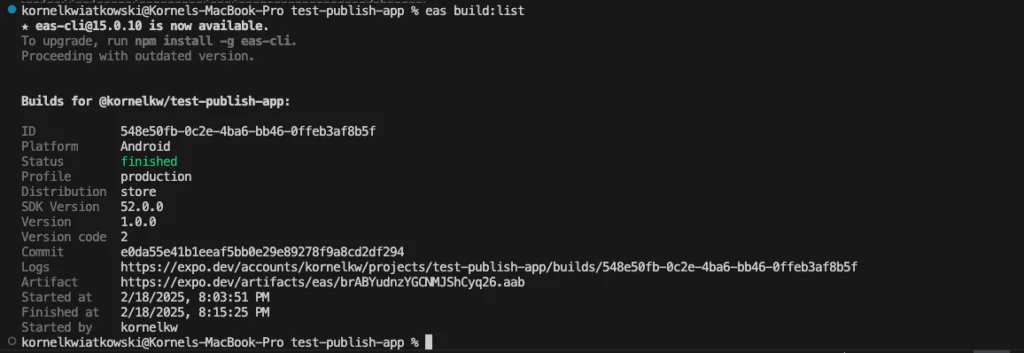
To view the list of builds in the console, you can use this command eas build:list.
Next, you should see this:
Now, let’s go through the same process for the iOS platform.
Creating an App for iOS
Run the following command: eas build --platform ios. The same situation applies here as with the Android application id.

After confirming, you should see something like this:

Now, instead of versionNumber, we have buildNumber. Both work the same, only the name is different.
To build a production app for the iOS platform, you need to log in to our developer account.
After logging in, we’ll be asked about the Apple Distribution Certificate.

And Apple Provisioning Profile

Again, we have two options:
- Option 1: If you haven’t created a provisioning profile or distribution certificate yet, EAS CLI can handle it. Sign in to your Apple Developer Program account and follow the prompts.
- Option 2: If you want to generate your credentials by hand, check out the manual iOS credentials guide for more details.

Success!
If you see a message about the build waiting in the queue, it’s likely because you’re using a free Expo account. It has some limitations, but should be more than enough to get you started.
Alternatively, you can use the --platform all option to build for both Android and iOS at the same time: eas build --platform all
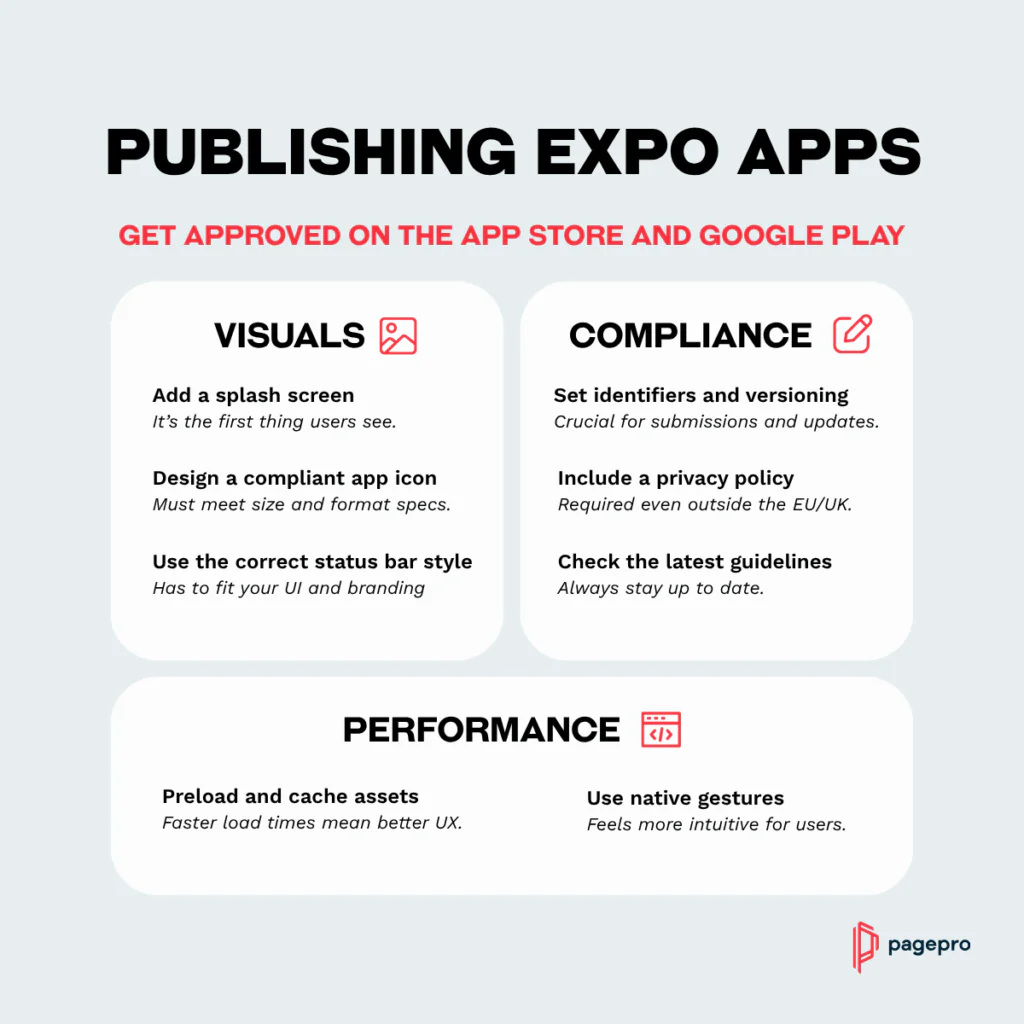
Best Practices for Deploying the App to Stores
To make sure your app gets accepted to Apple and Google app stores, implement some of these features:
- Add a splash screen, the first thing users see after they run an app
- Preload and cache assets so the app loads quickly
- Define the status bar to work correctly with your UI
- Use native gestures whenever possible
- Add a great icon that would pass environment requirements
- Make sure your app has valid identifiers and versioning
- Include a privacy policy, even if you’re not publishing for the EU and UK market.
Additionally, you need to pass iOS-specific guidelines. They change from time to time, so always check them in the official iOS documentation.
How to Deploy a Build for Google Play Store
Since you have your build, it’s time to bring it to the users! I’ll show you how to deploy it for the Google Play Store first.
Set Up Your Google Store
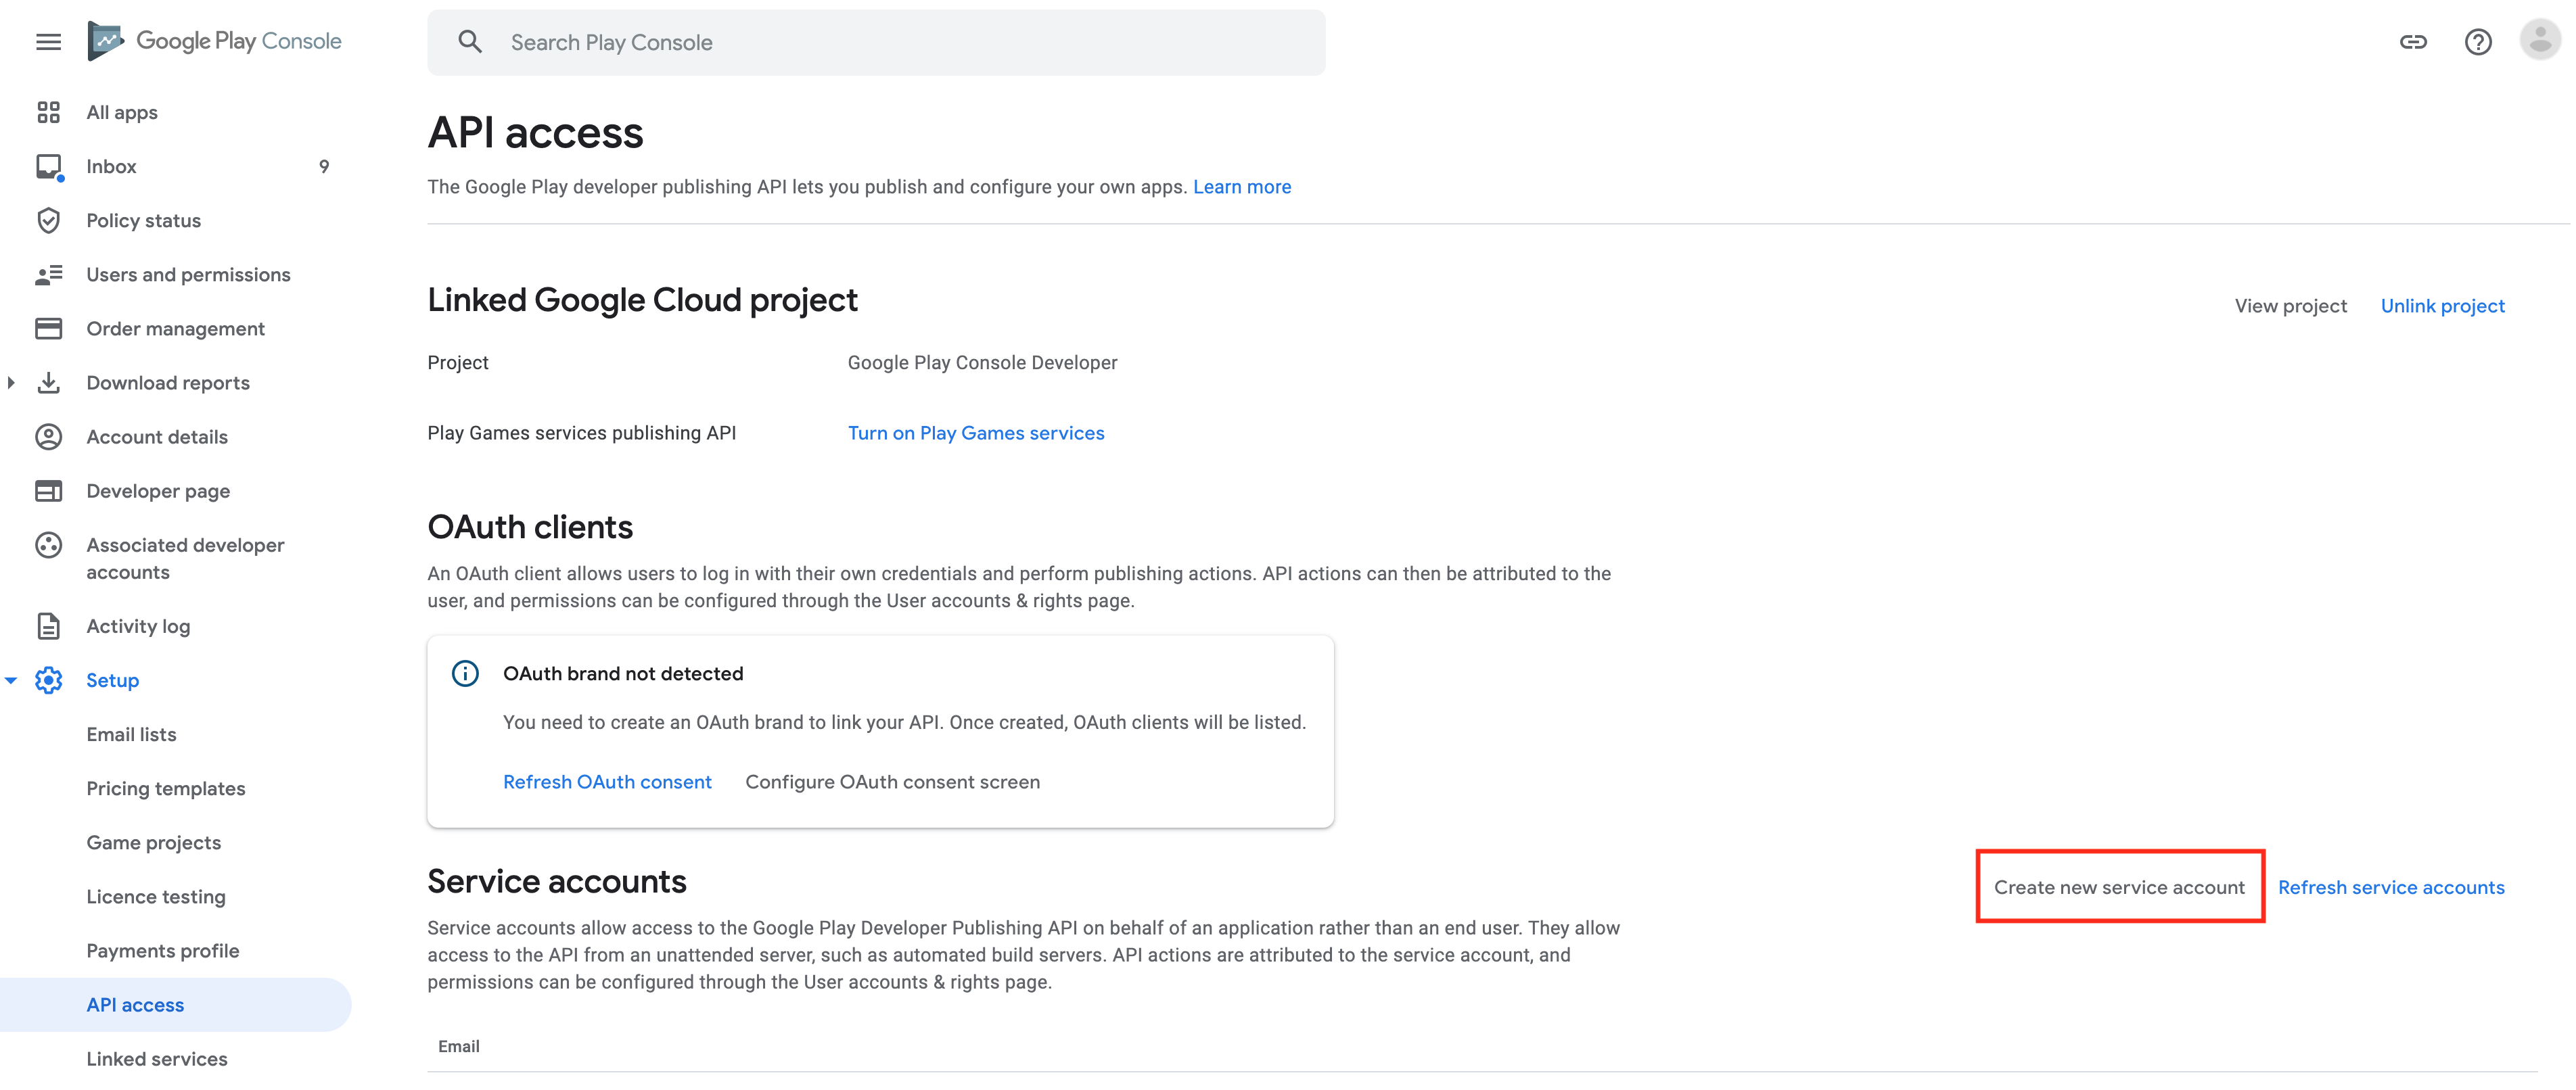
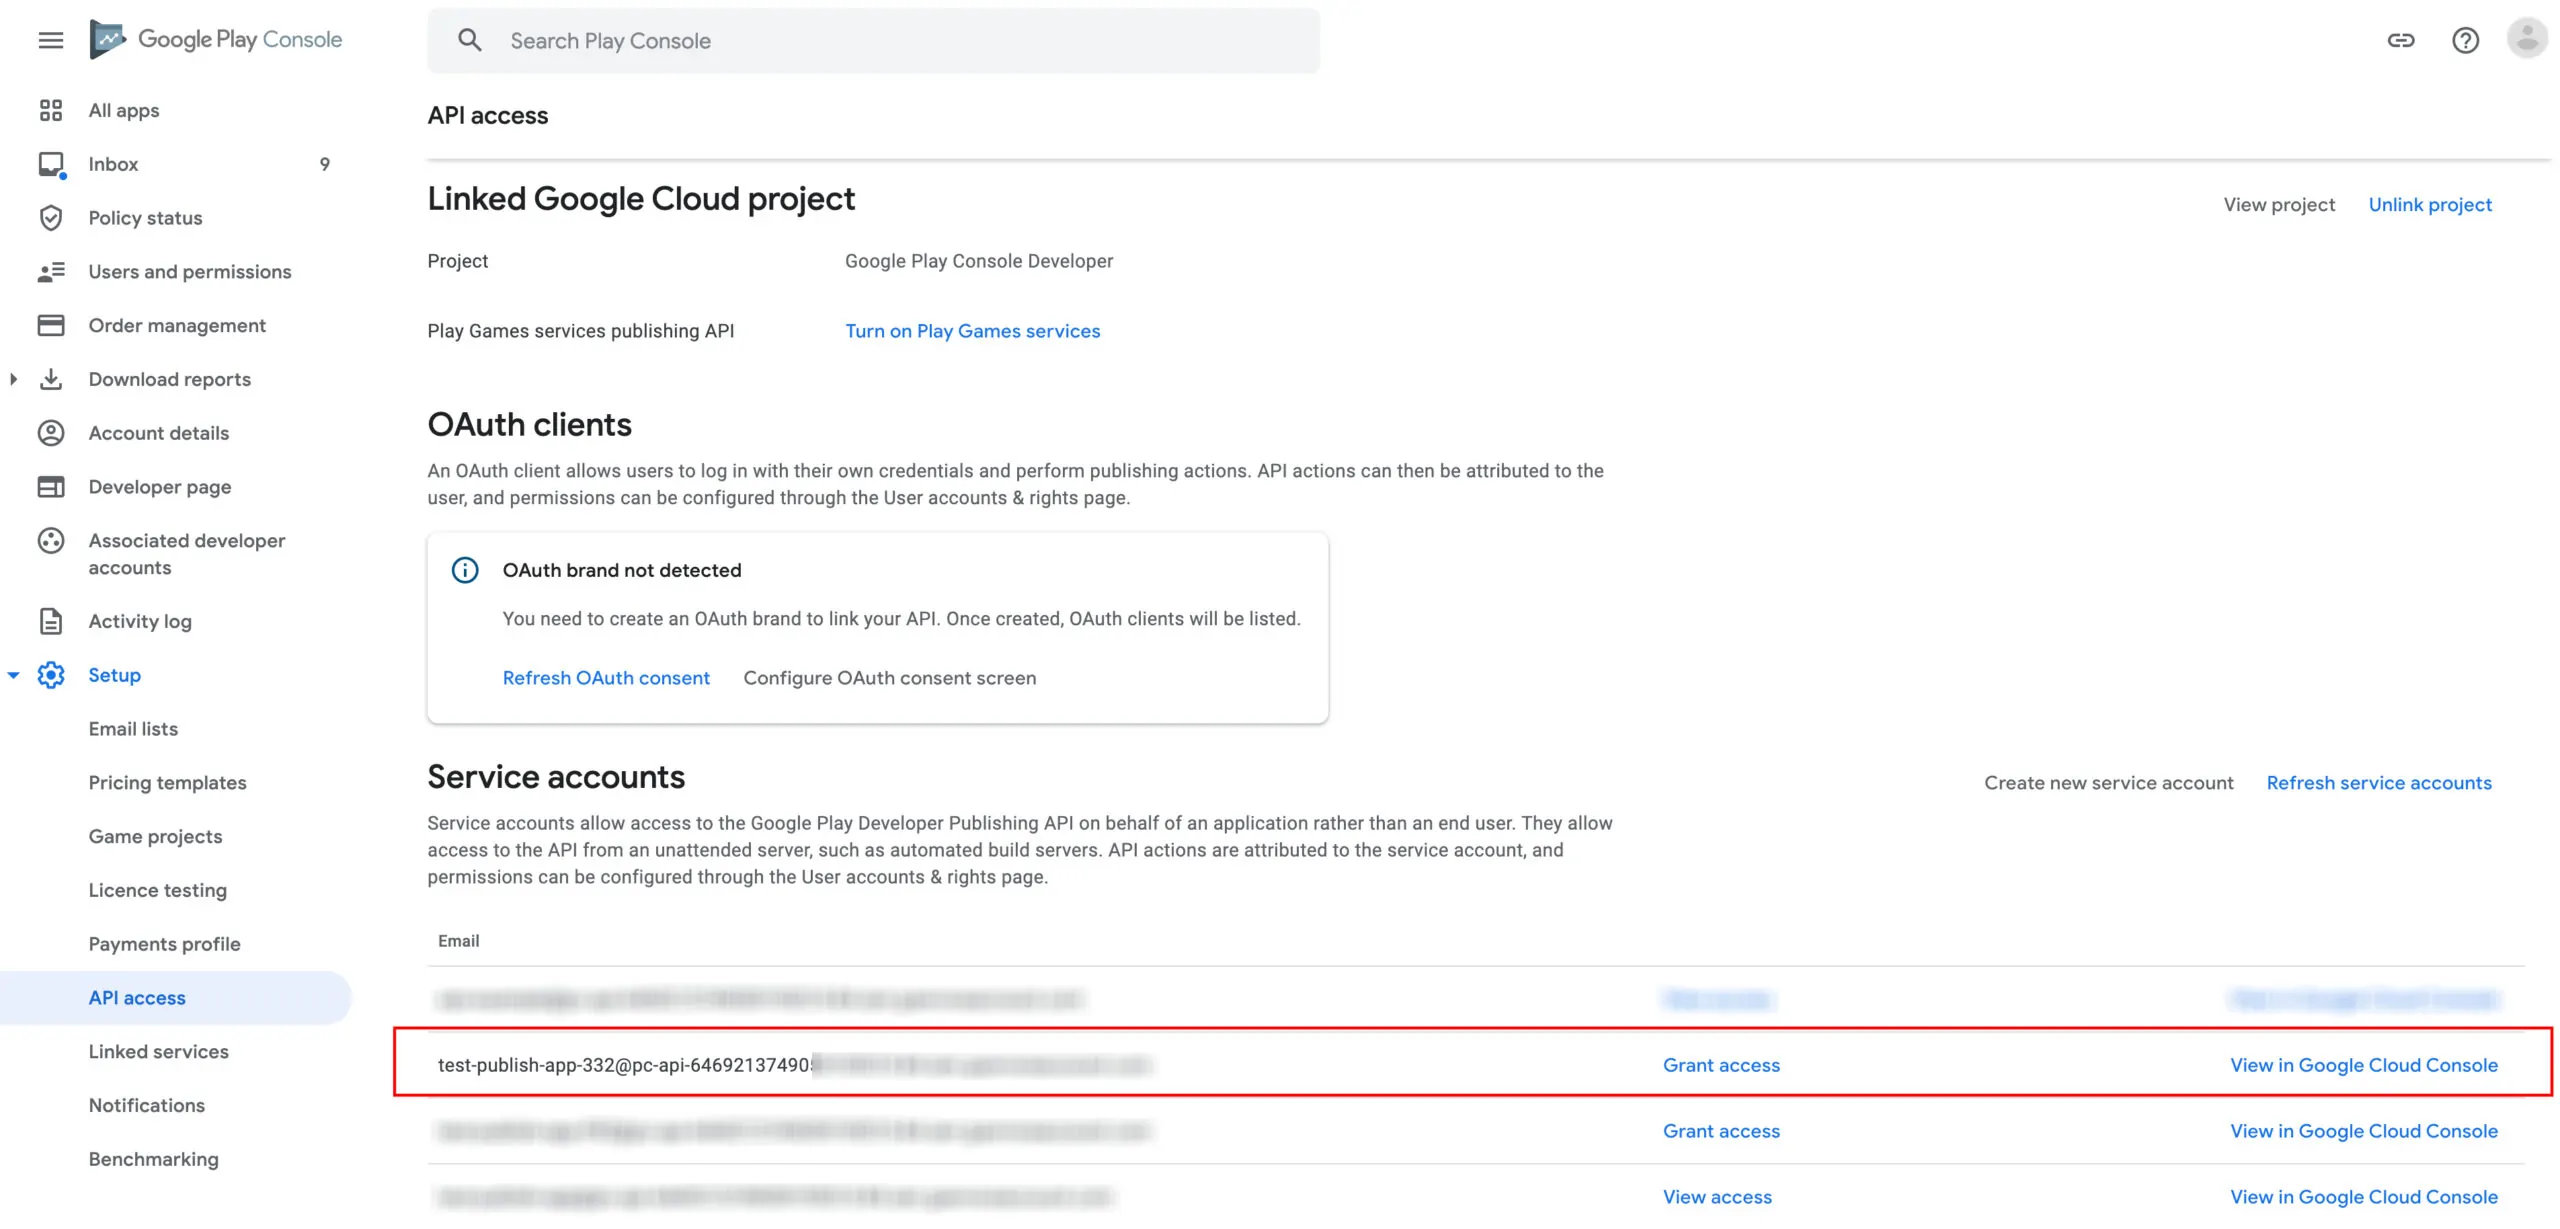
Go to Google Play Console and create a new account to get access to the API interface.
If you’d like to submit your Android app to the Google Play Store with EAS submit, follow these steps:

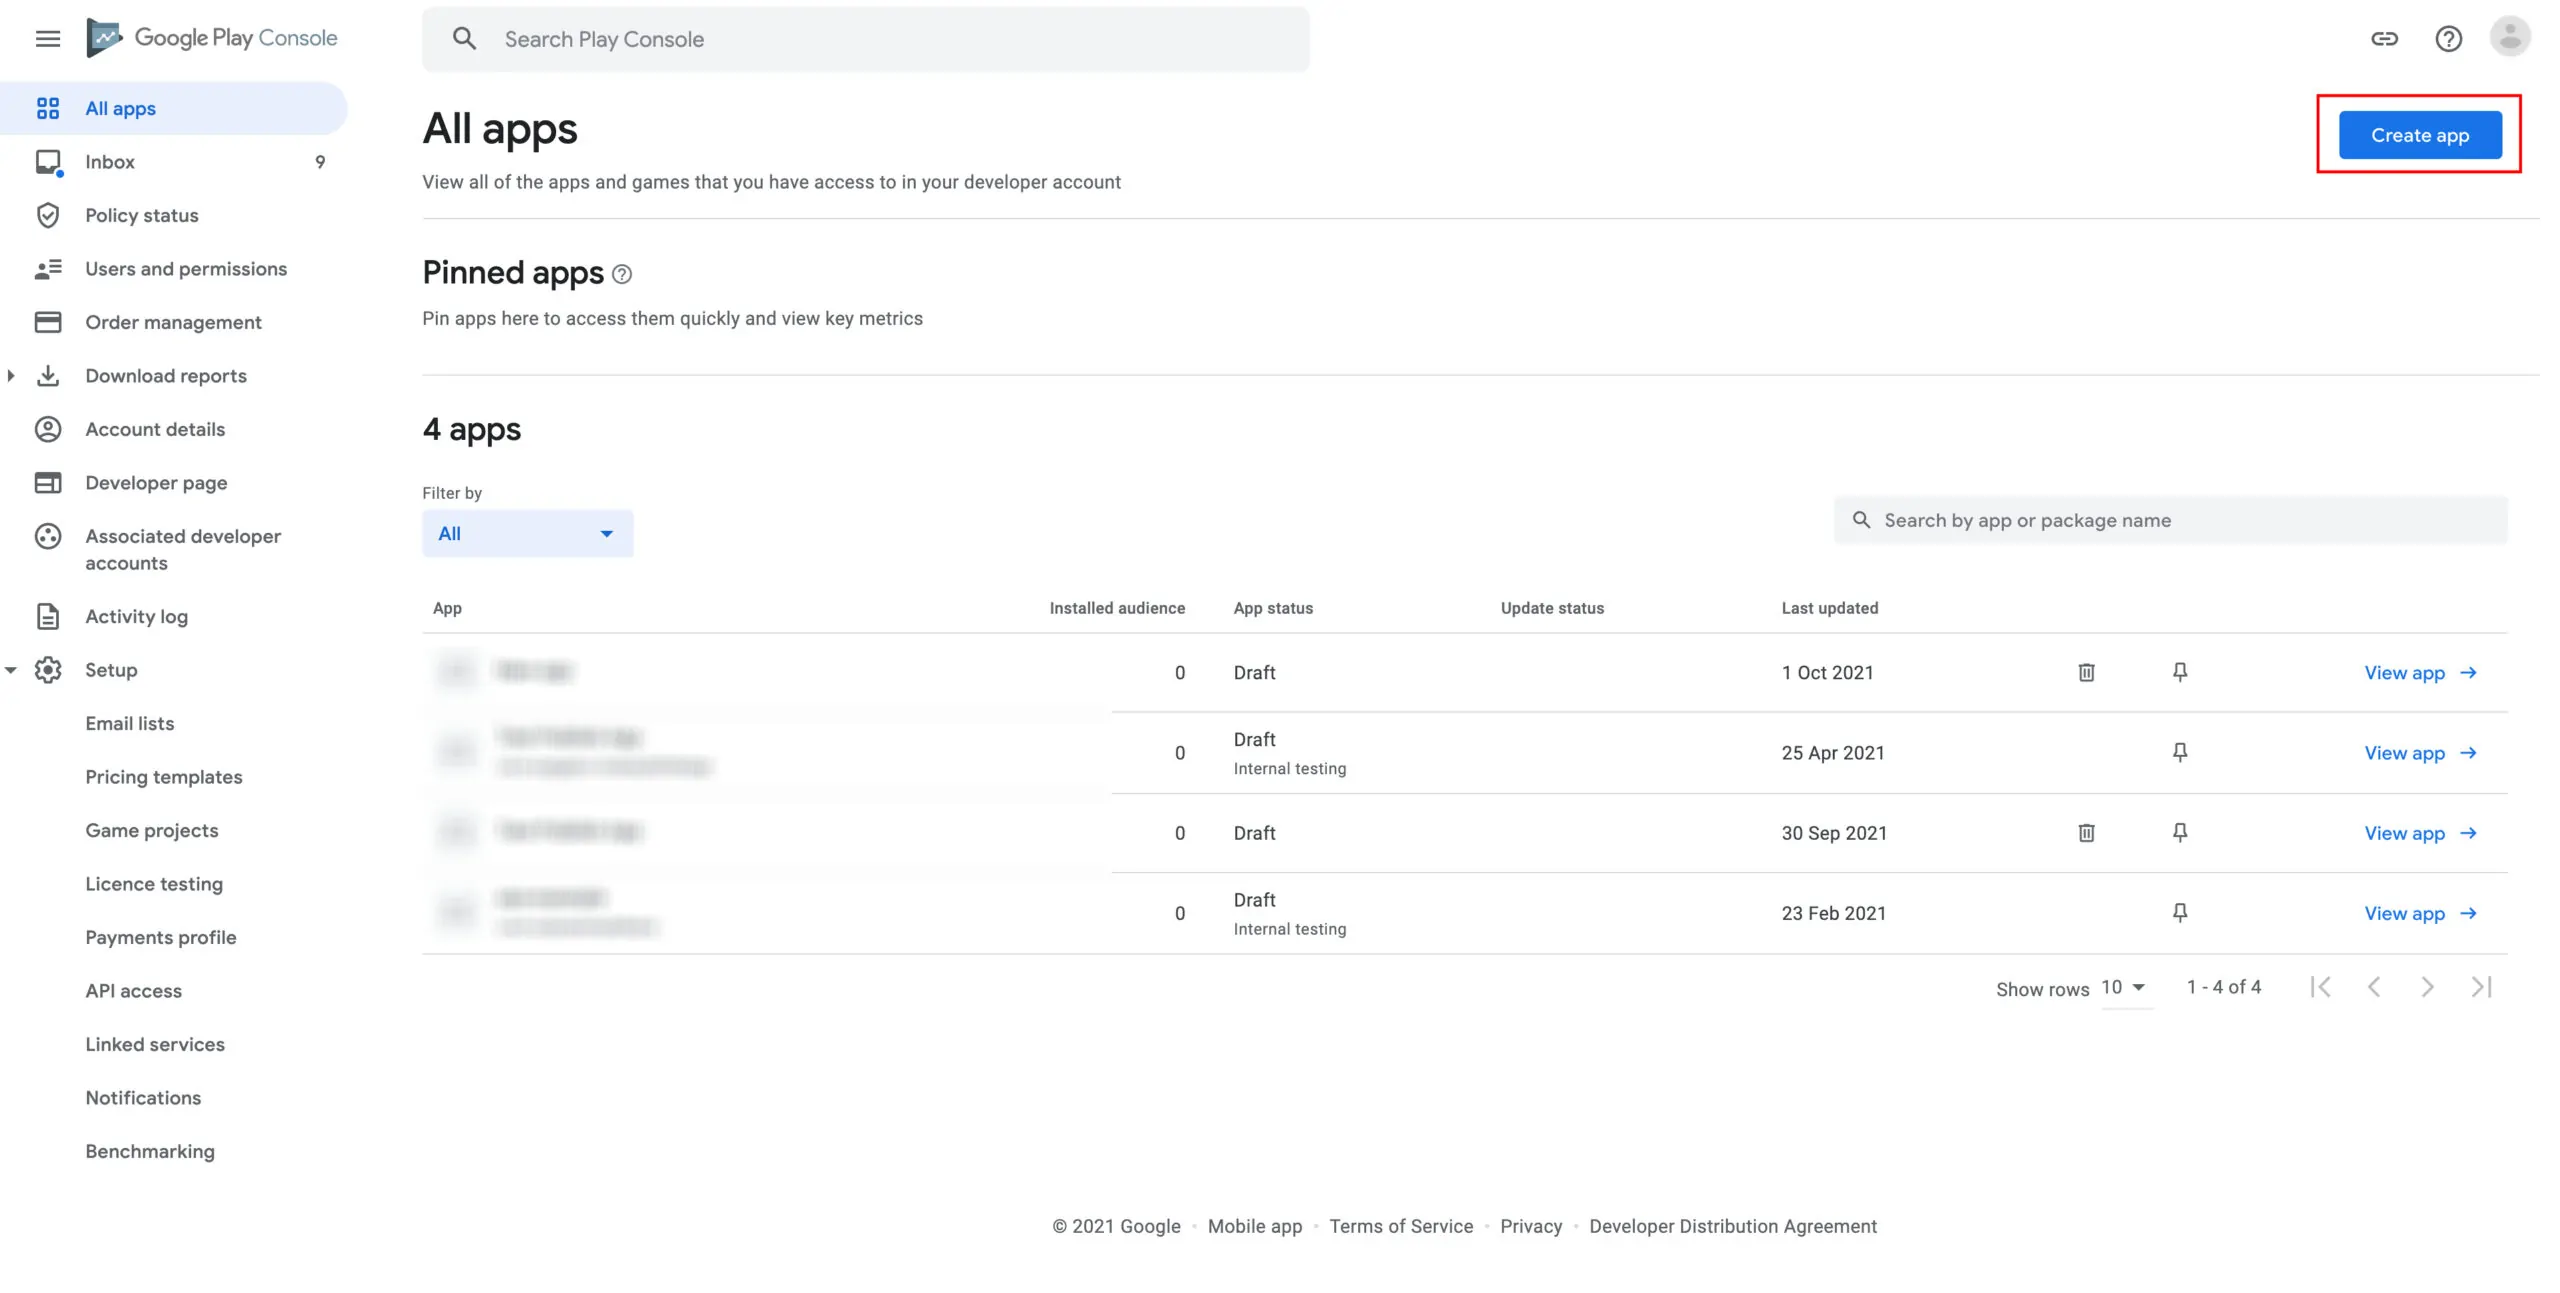
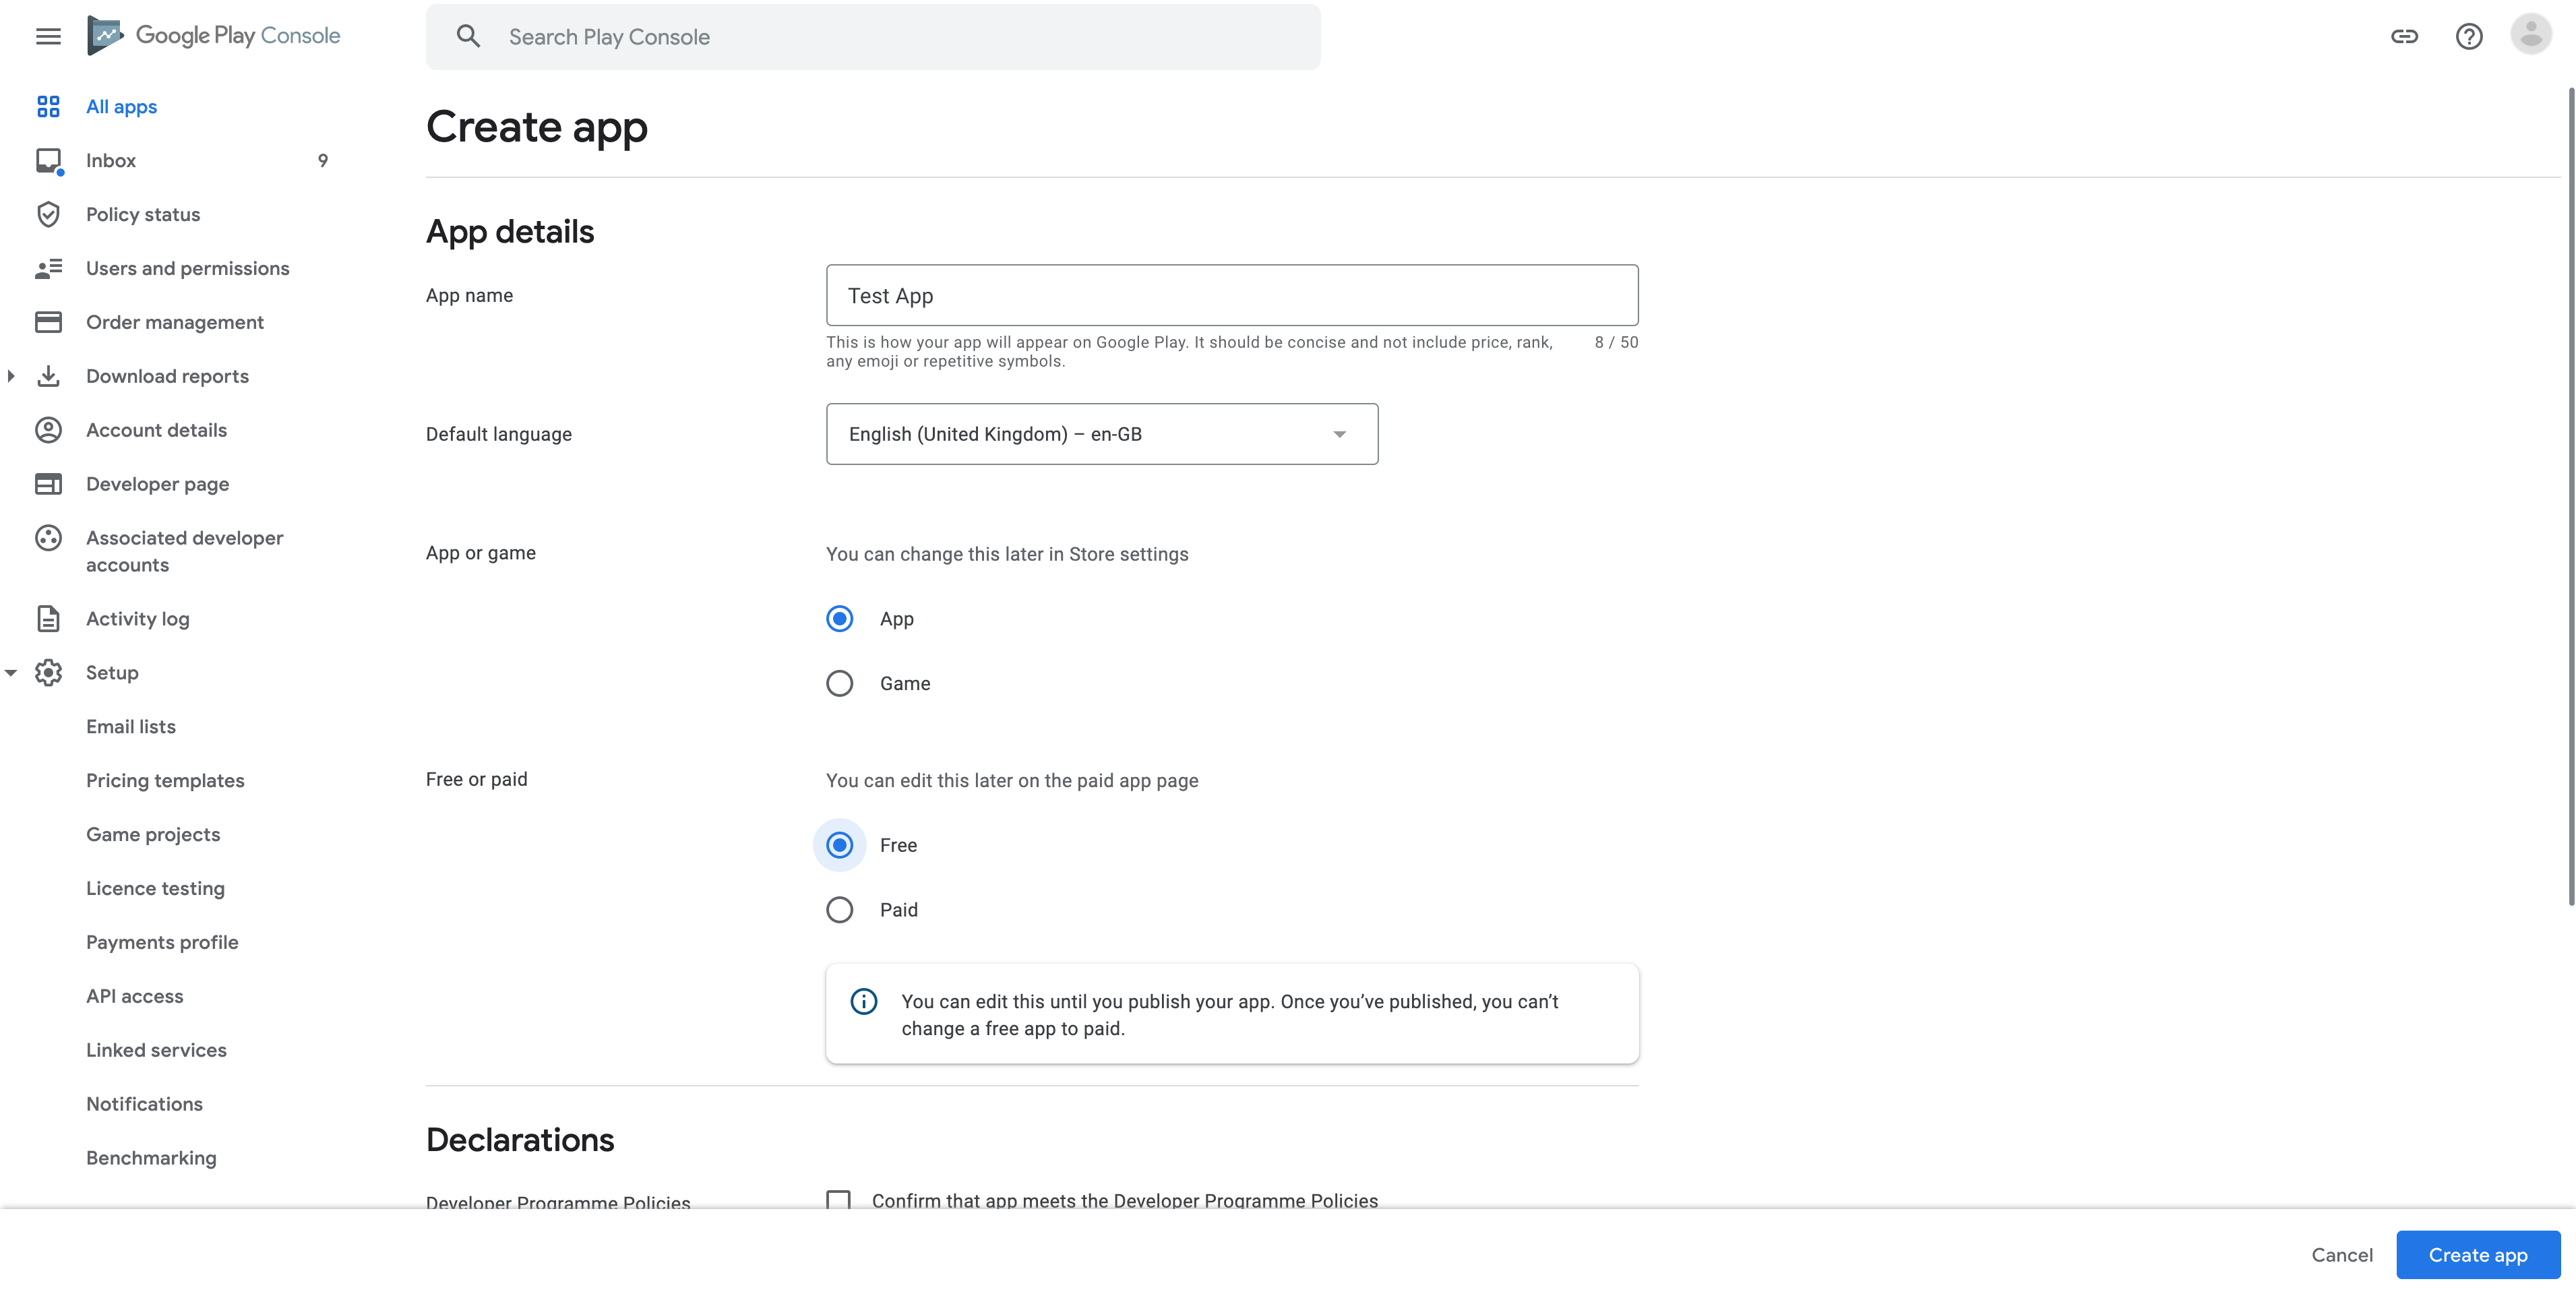
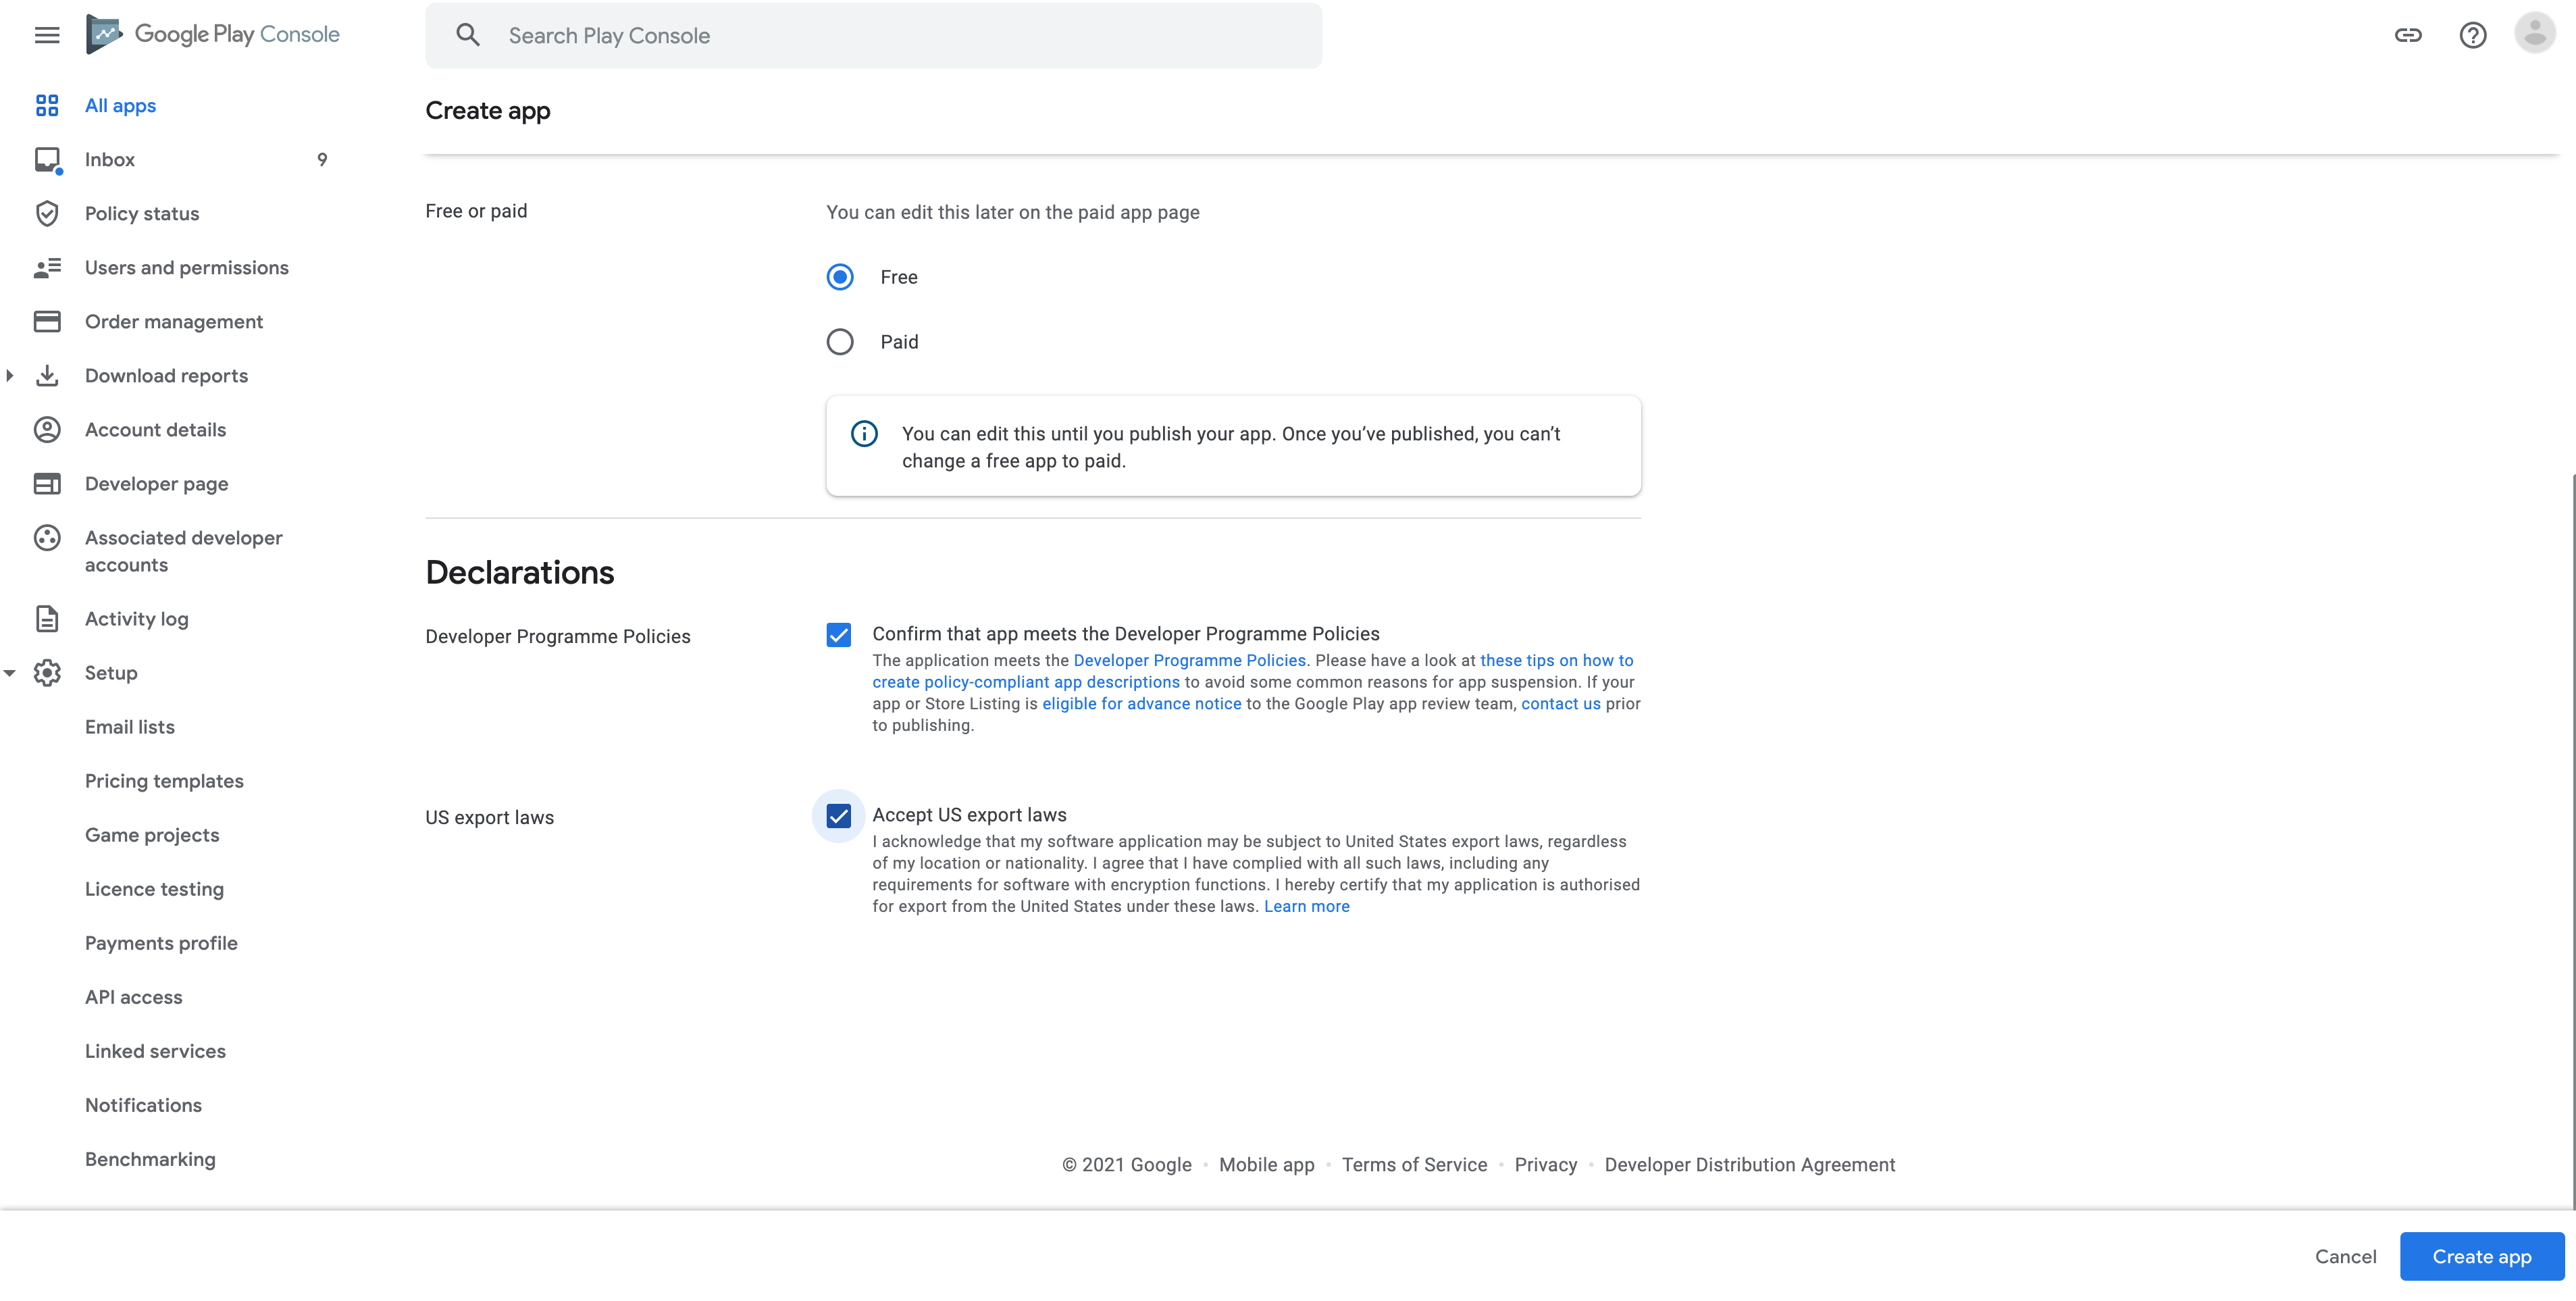
Create a New Application
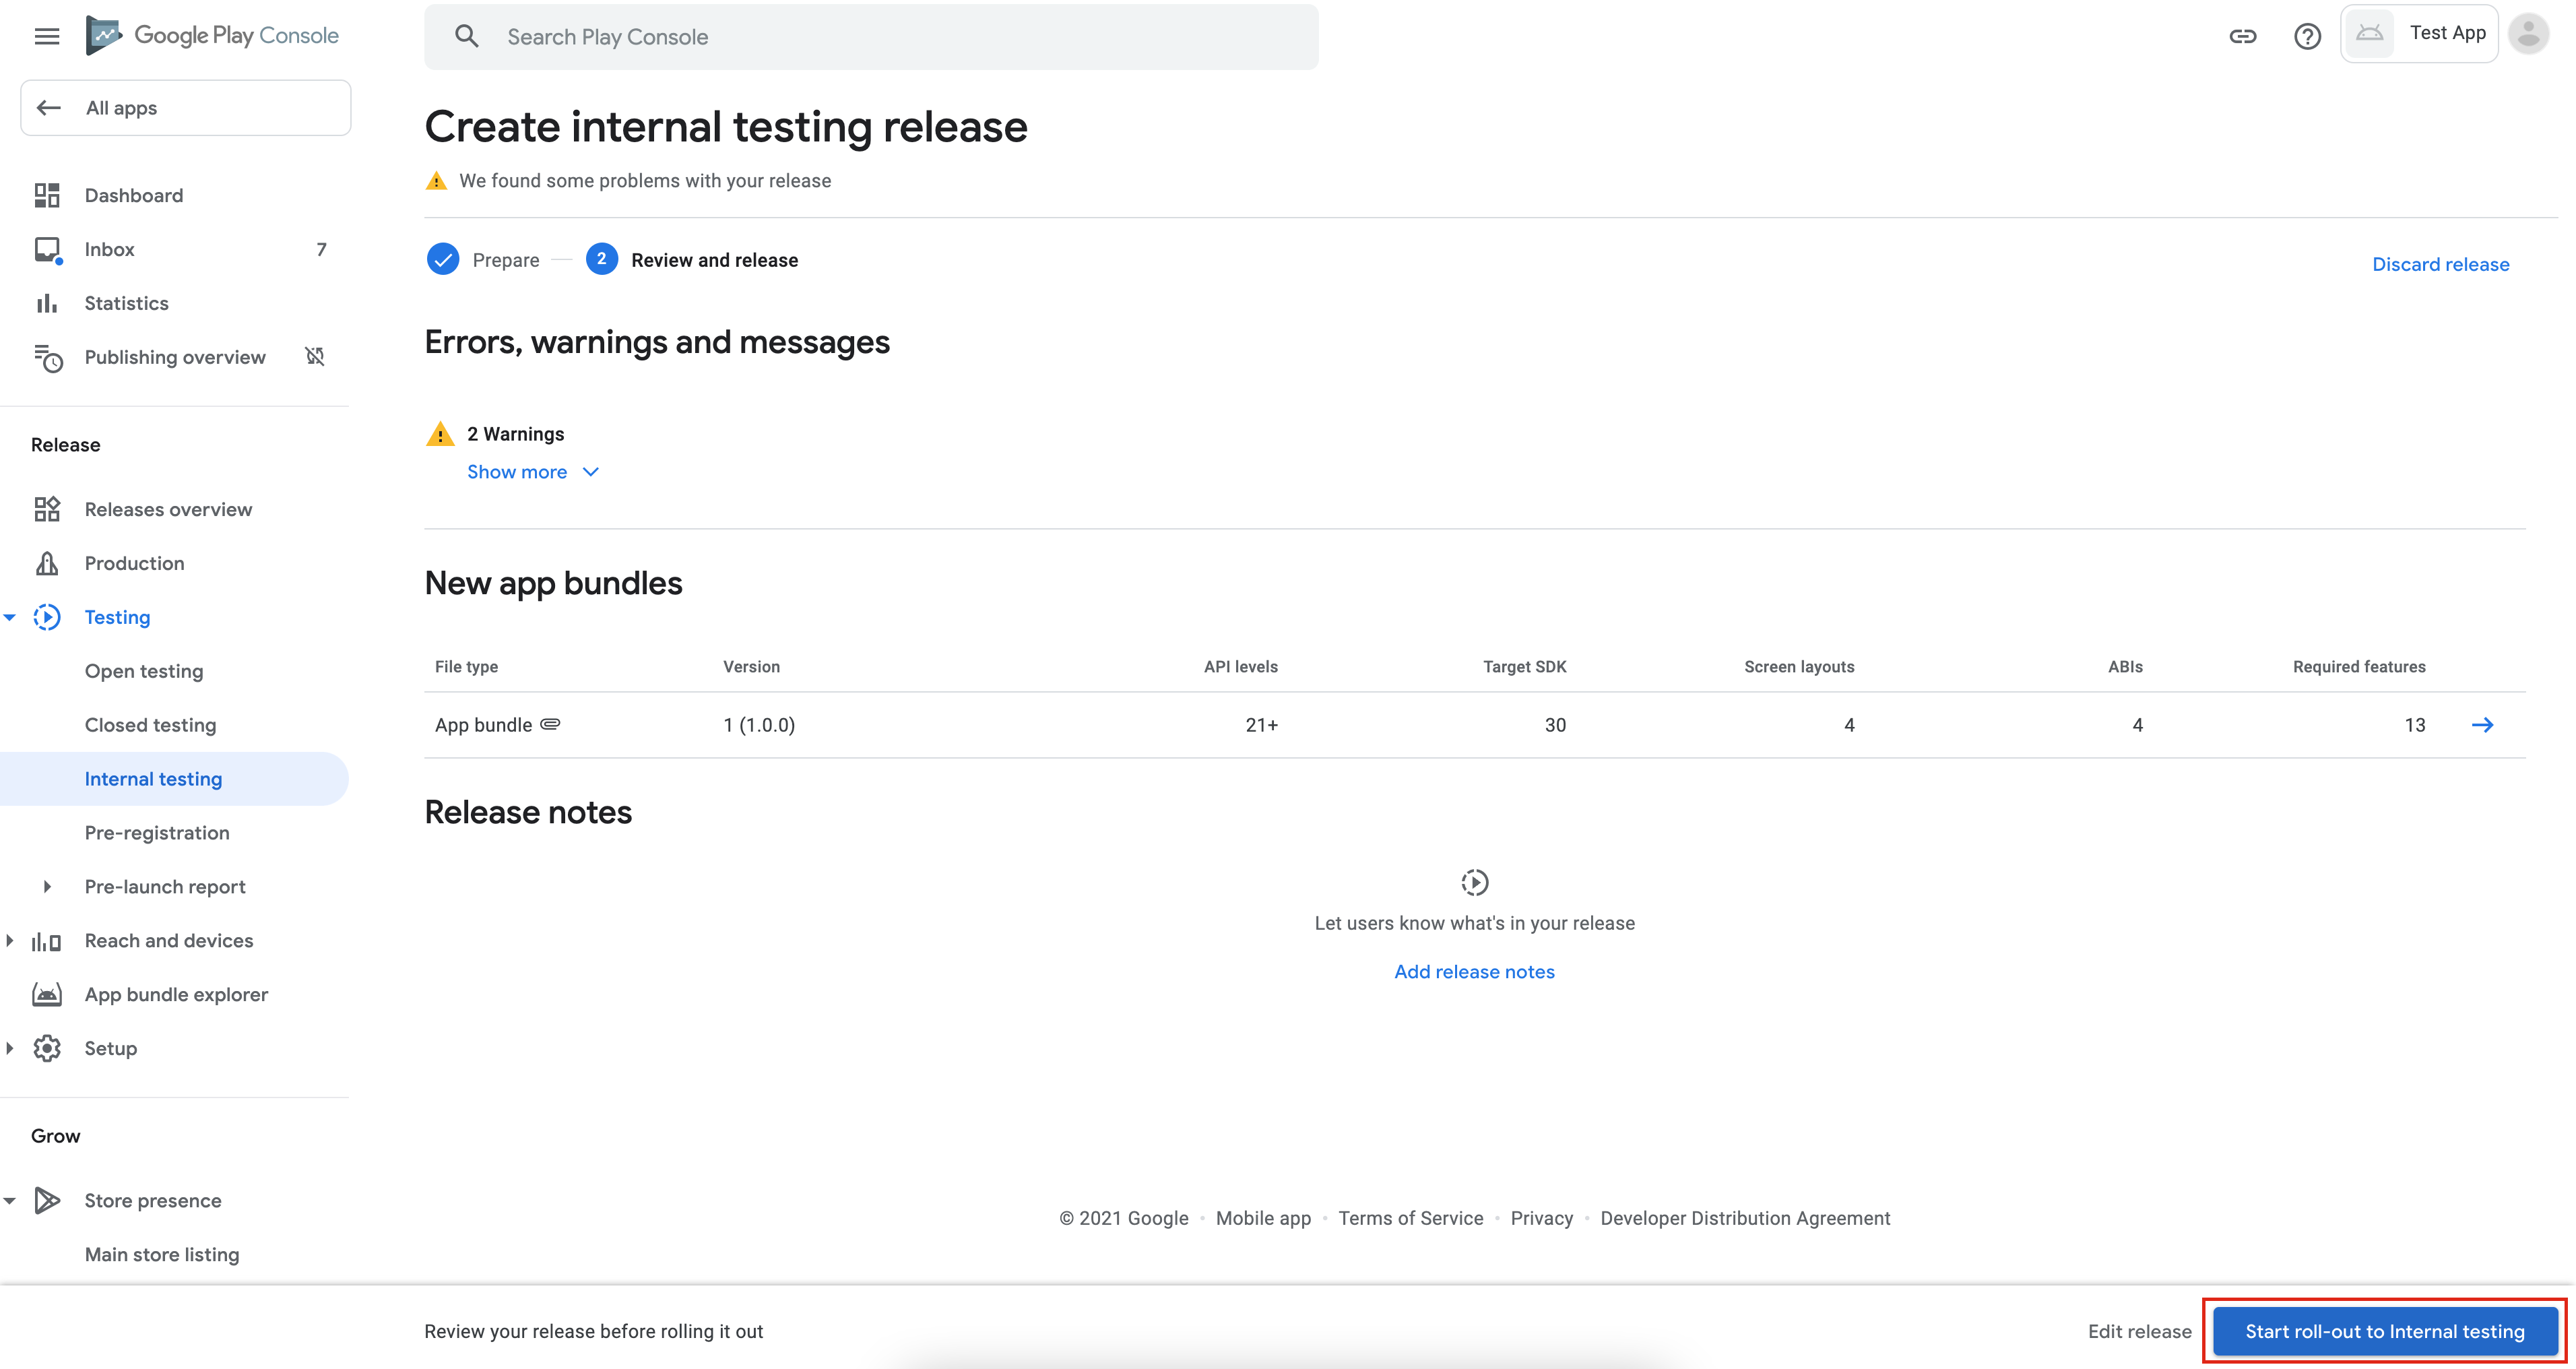
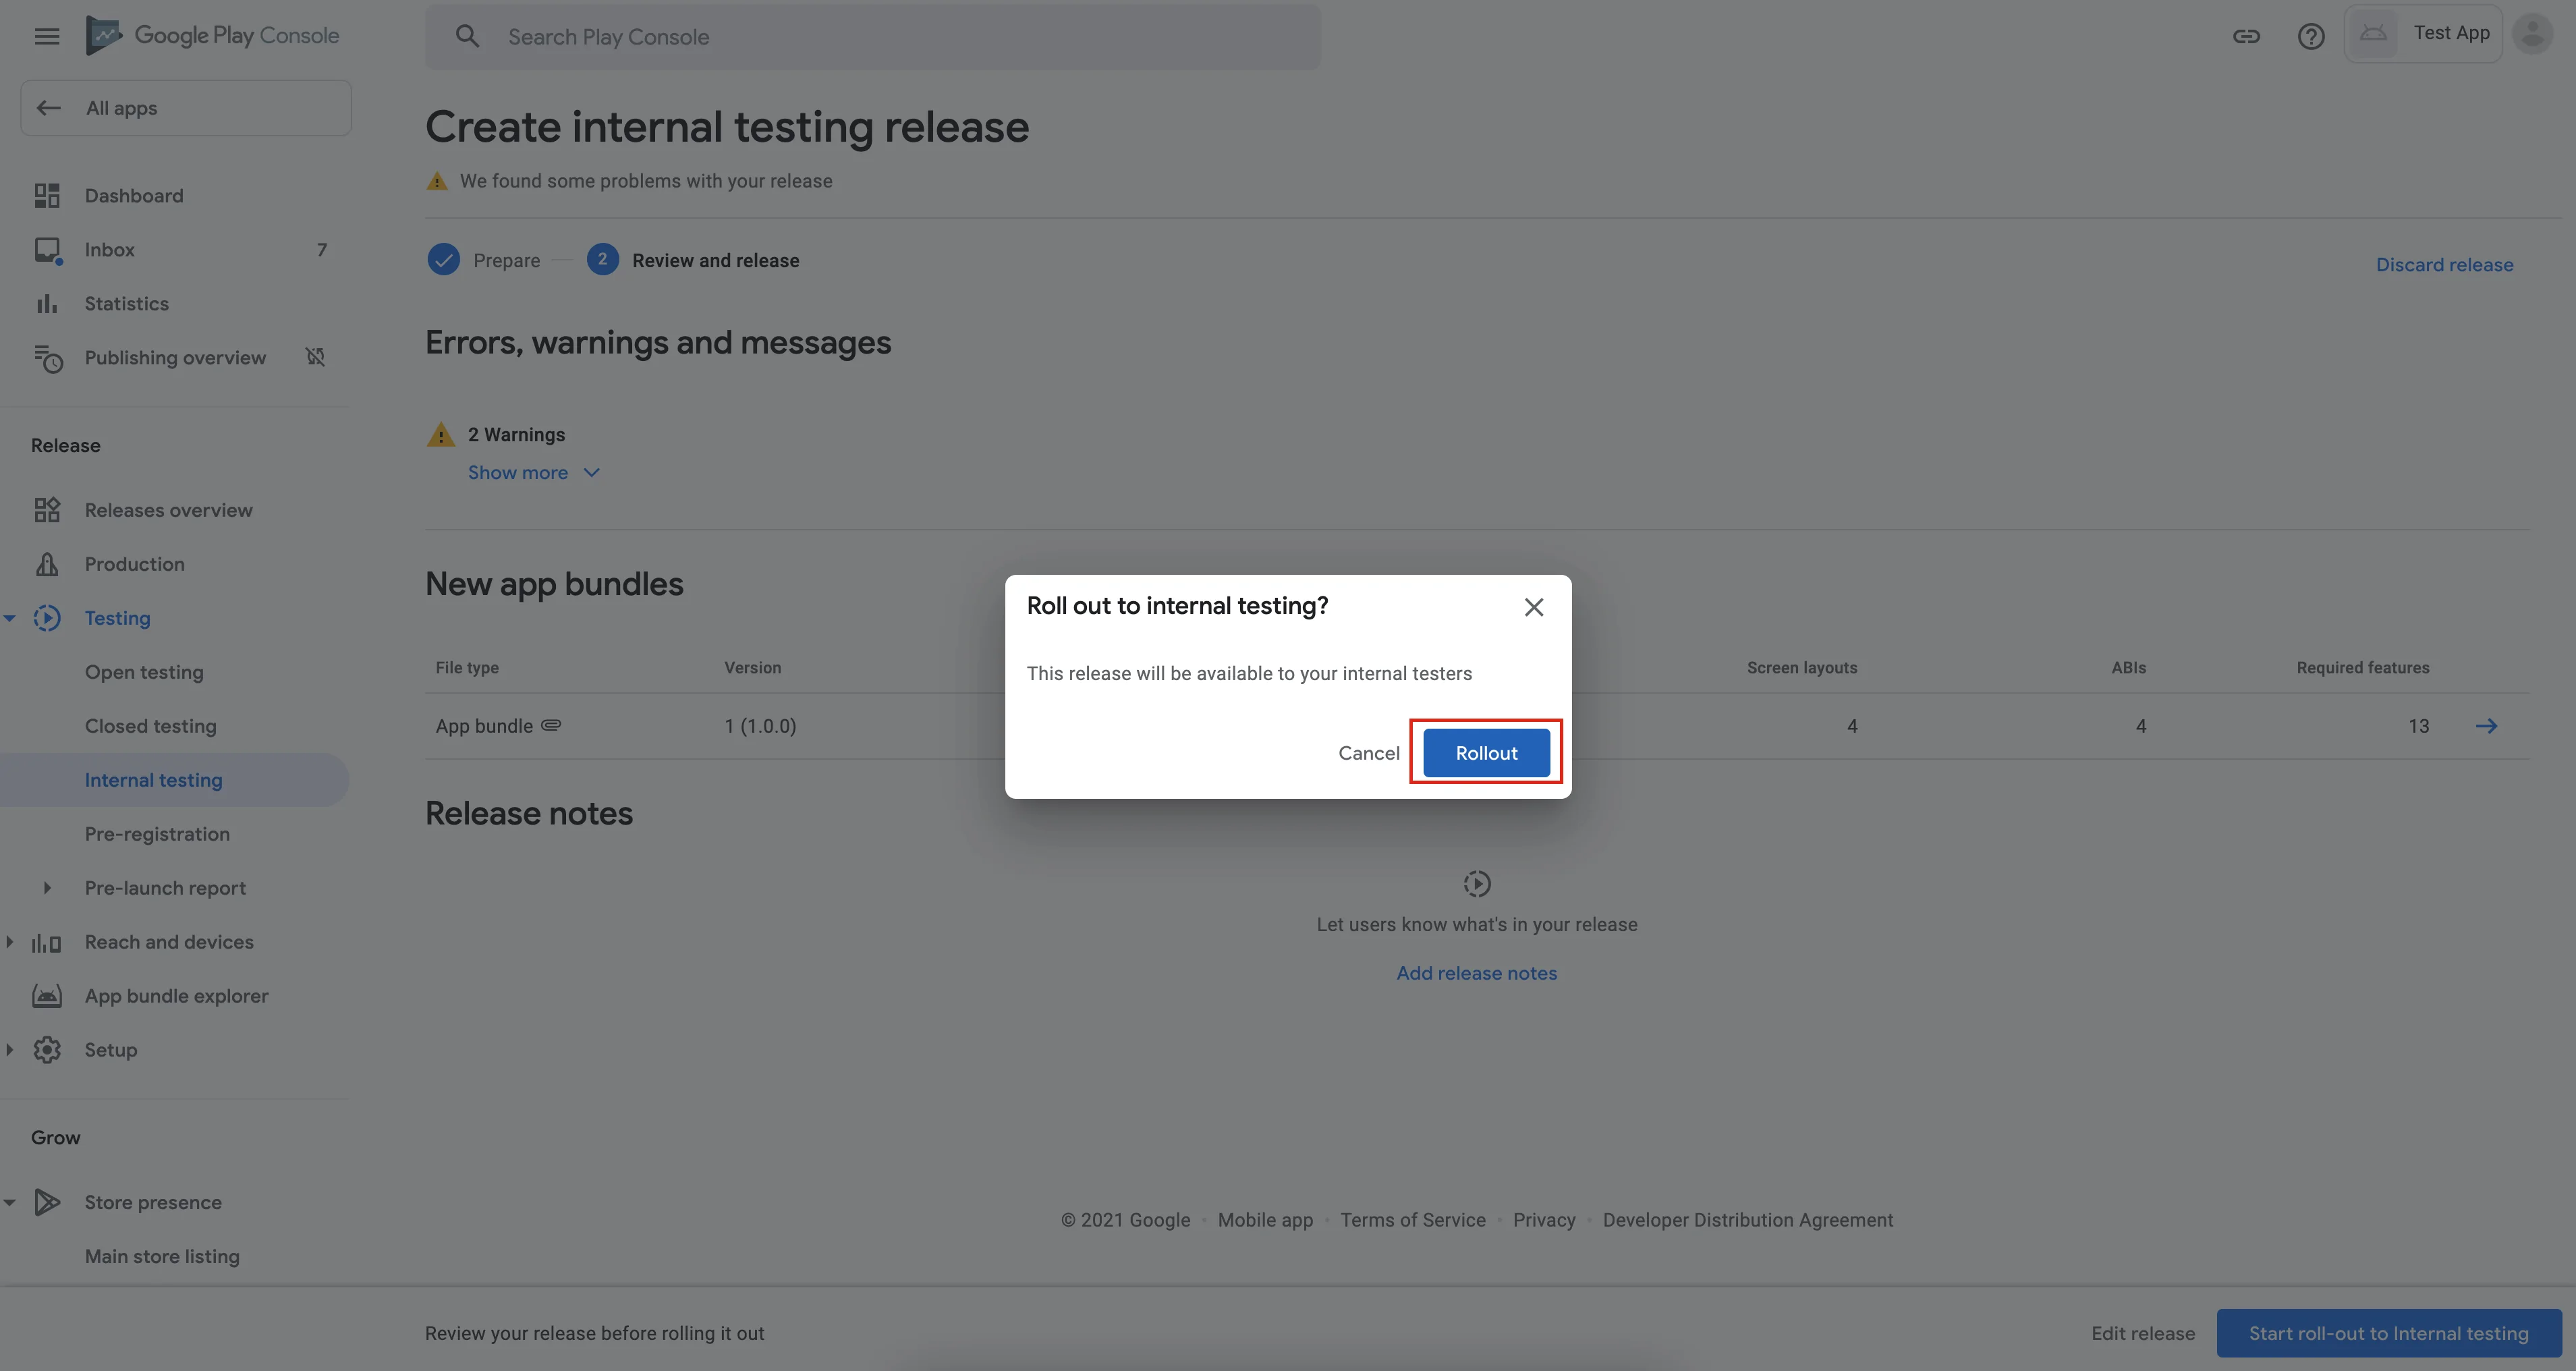
The first app upload needs to be done manually.

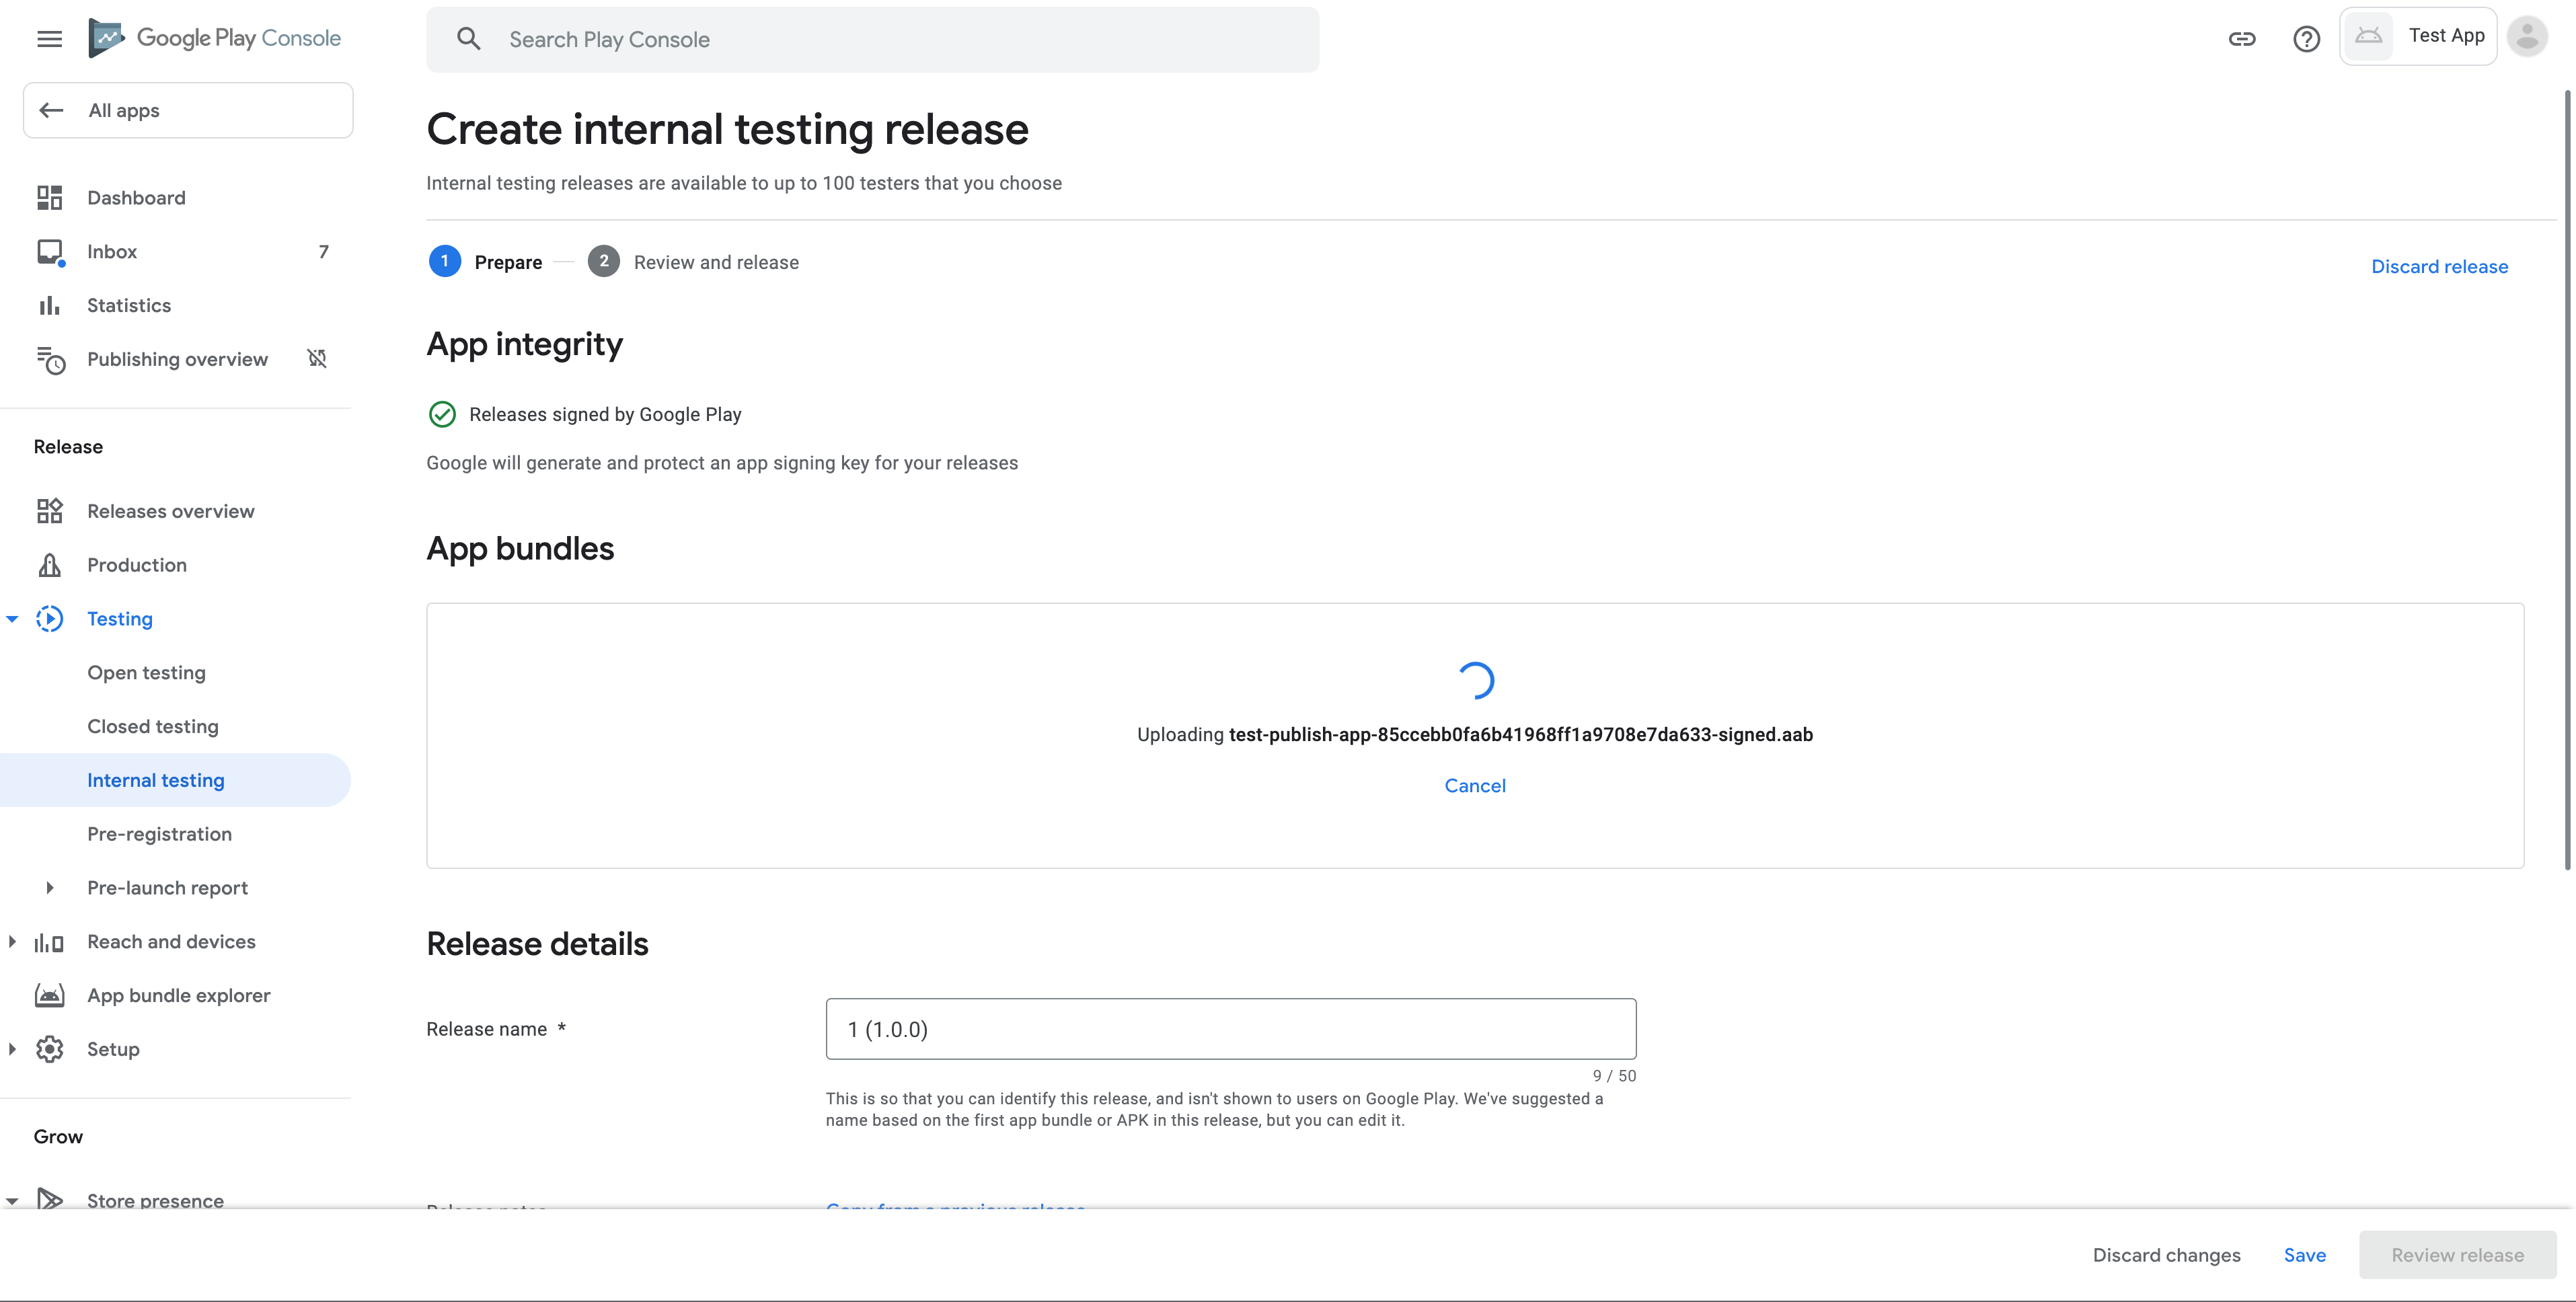
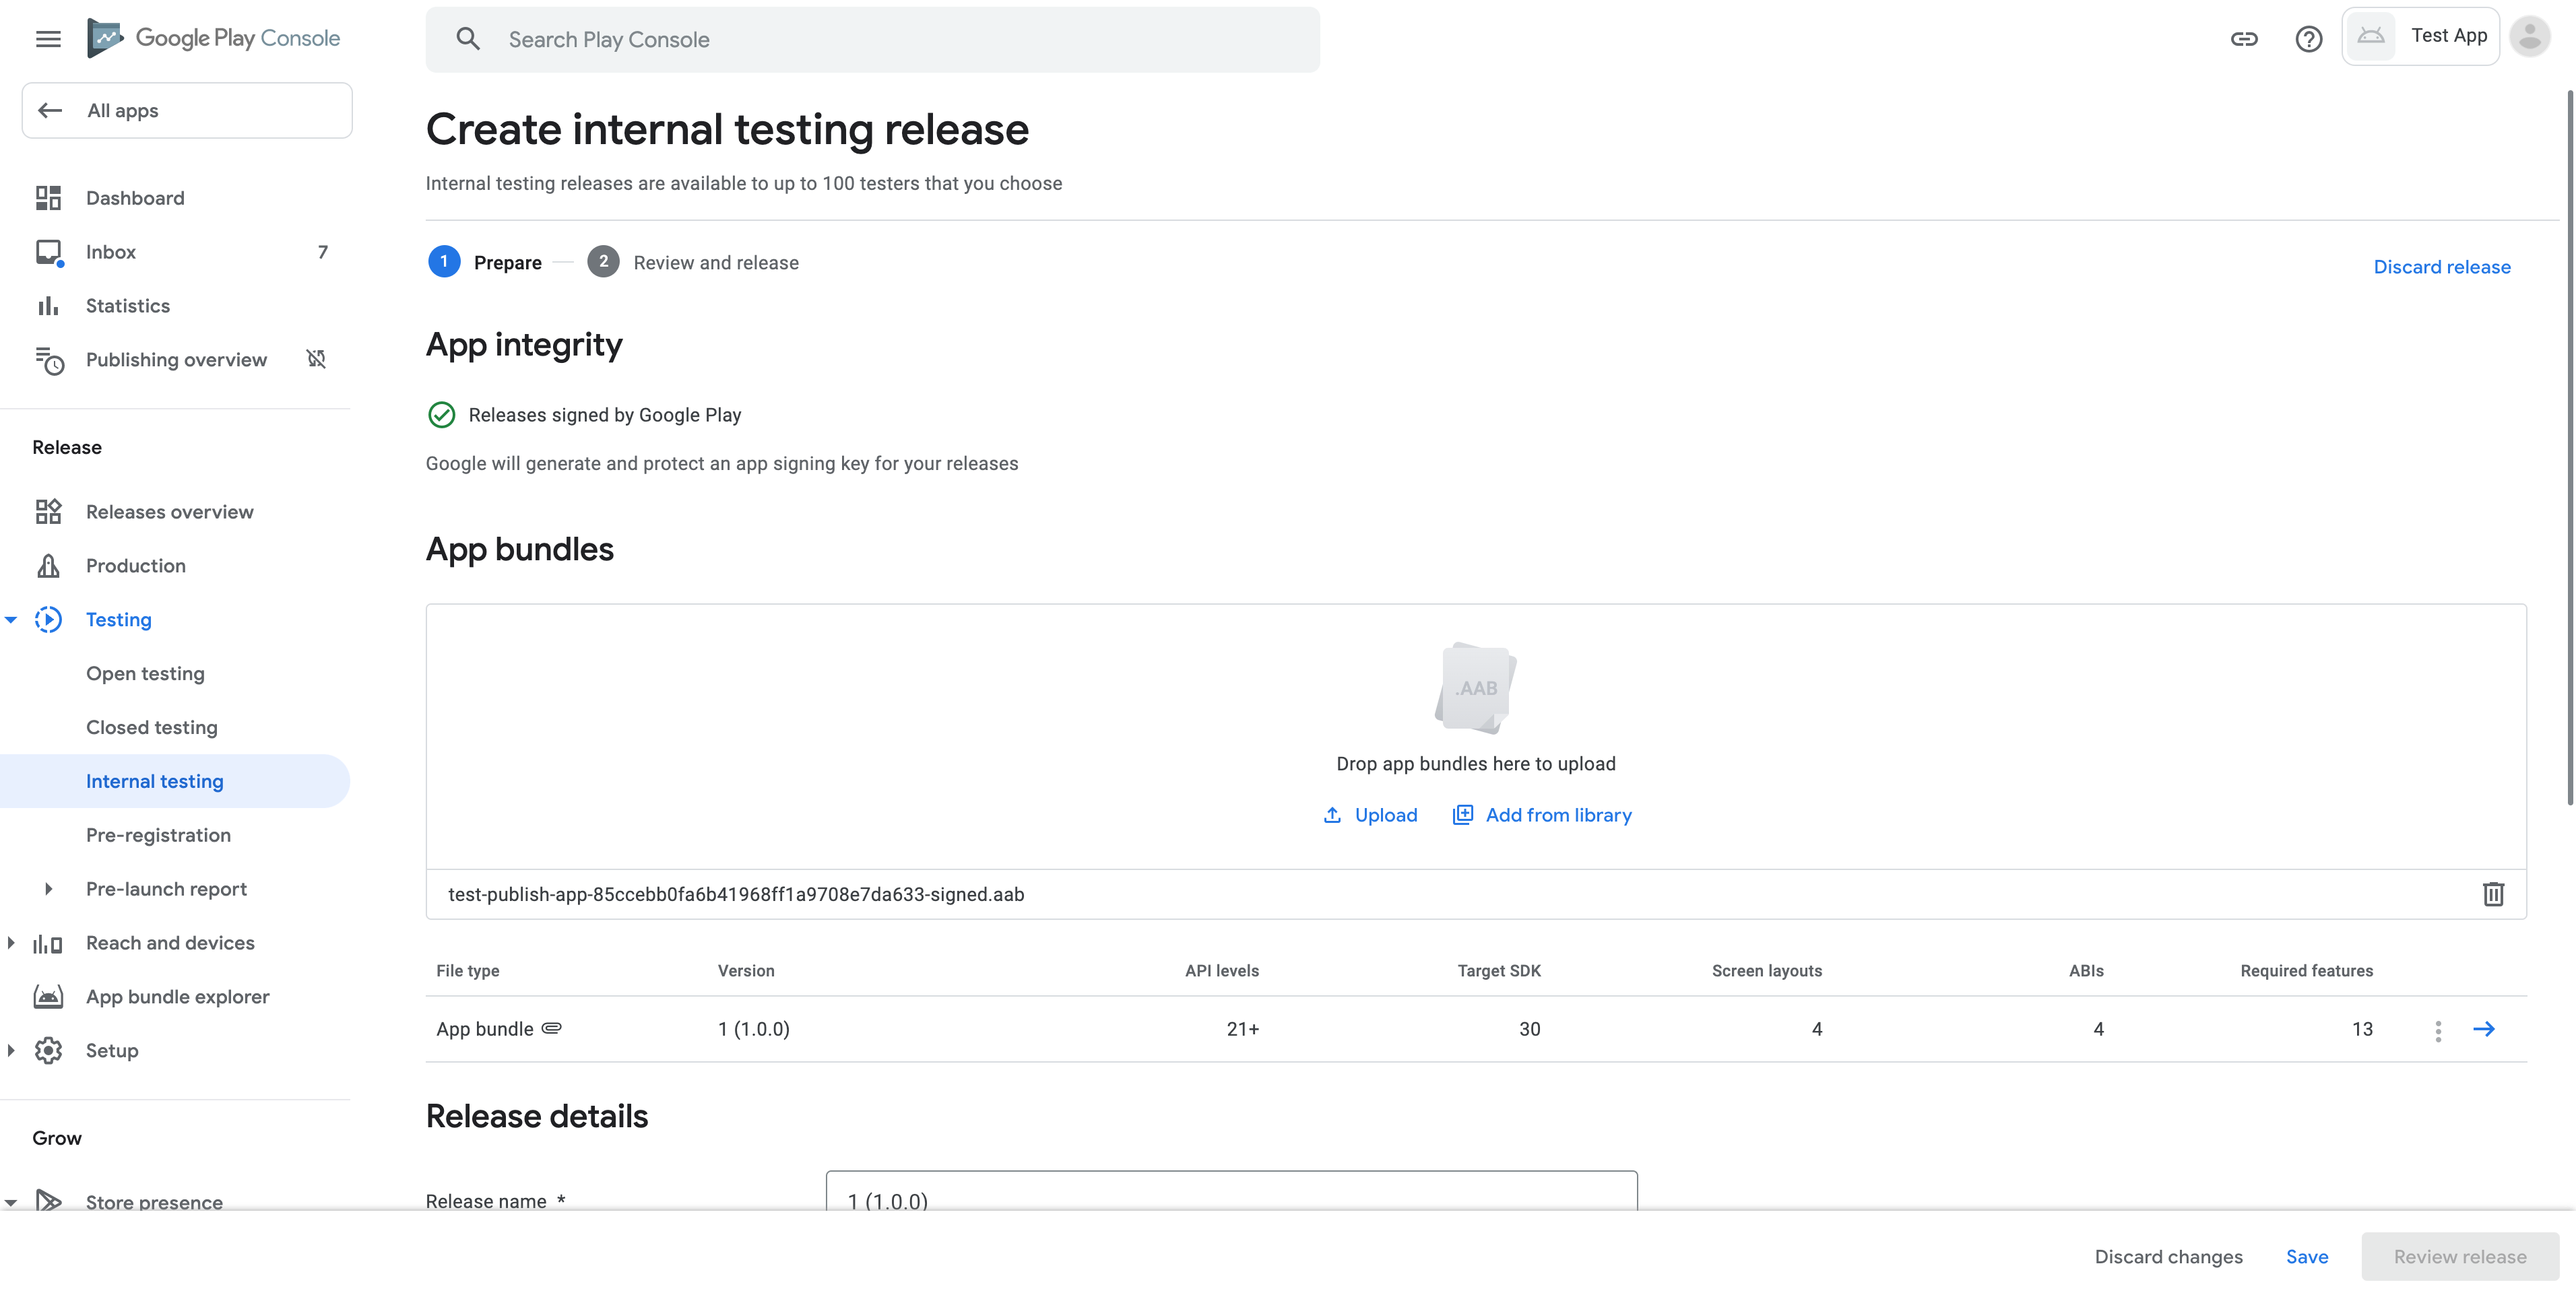
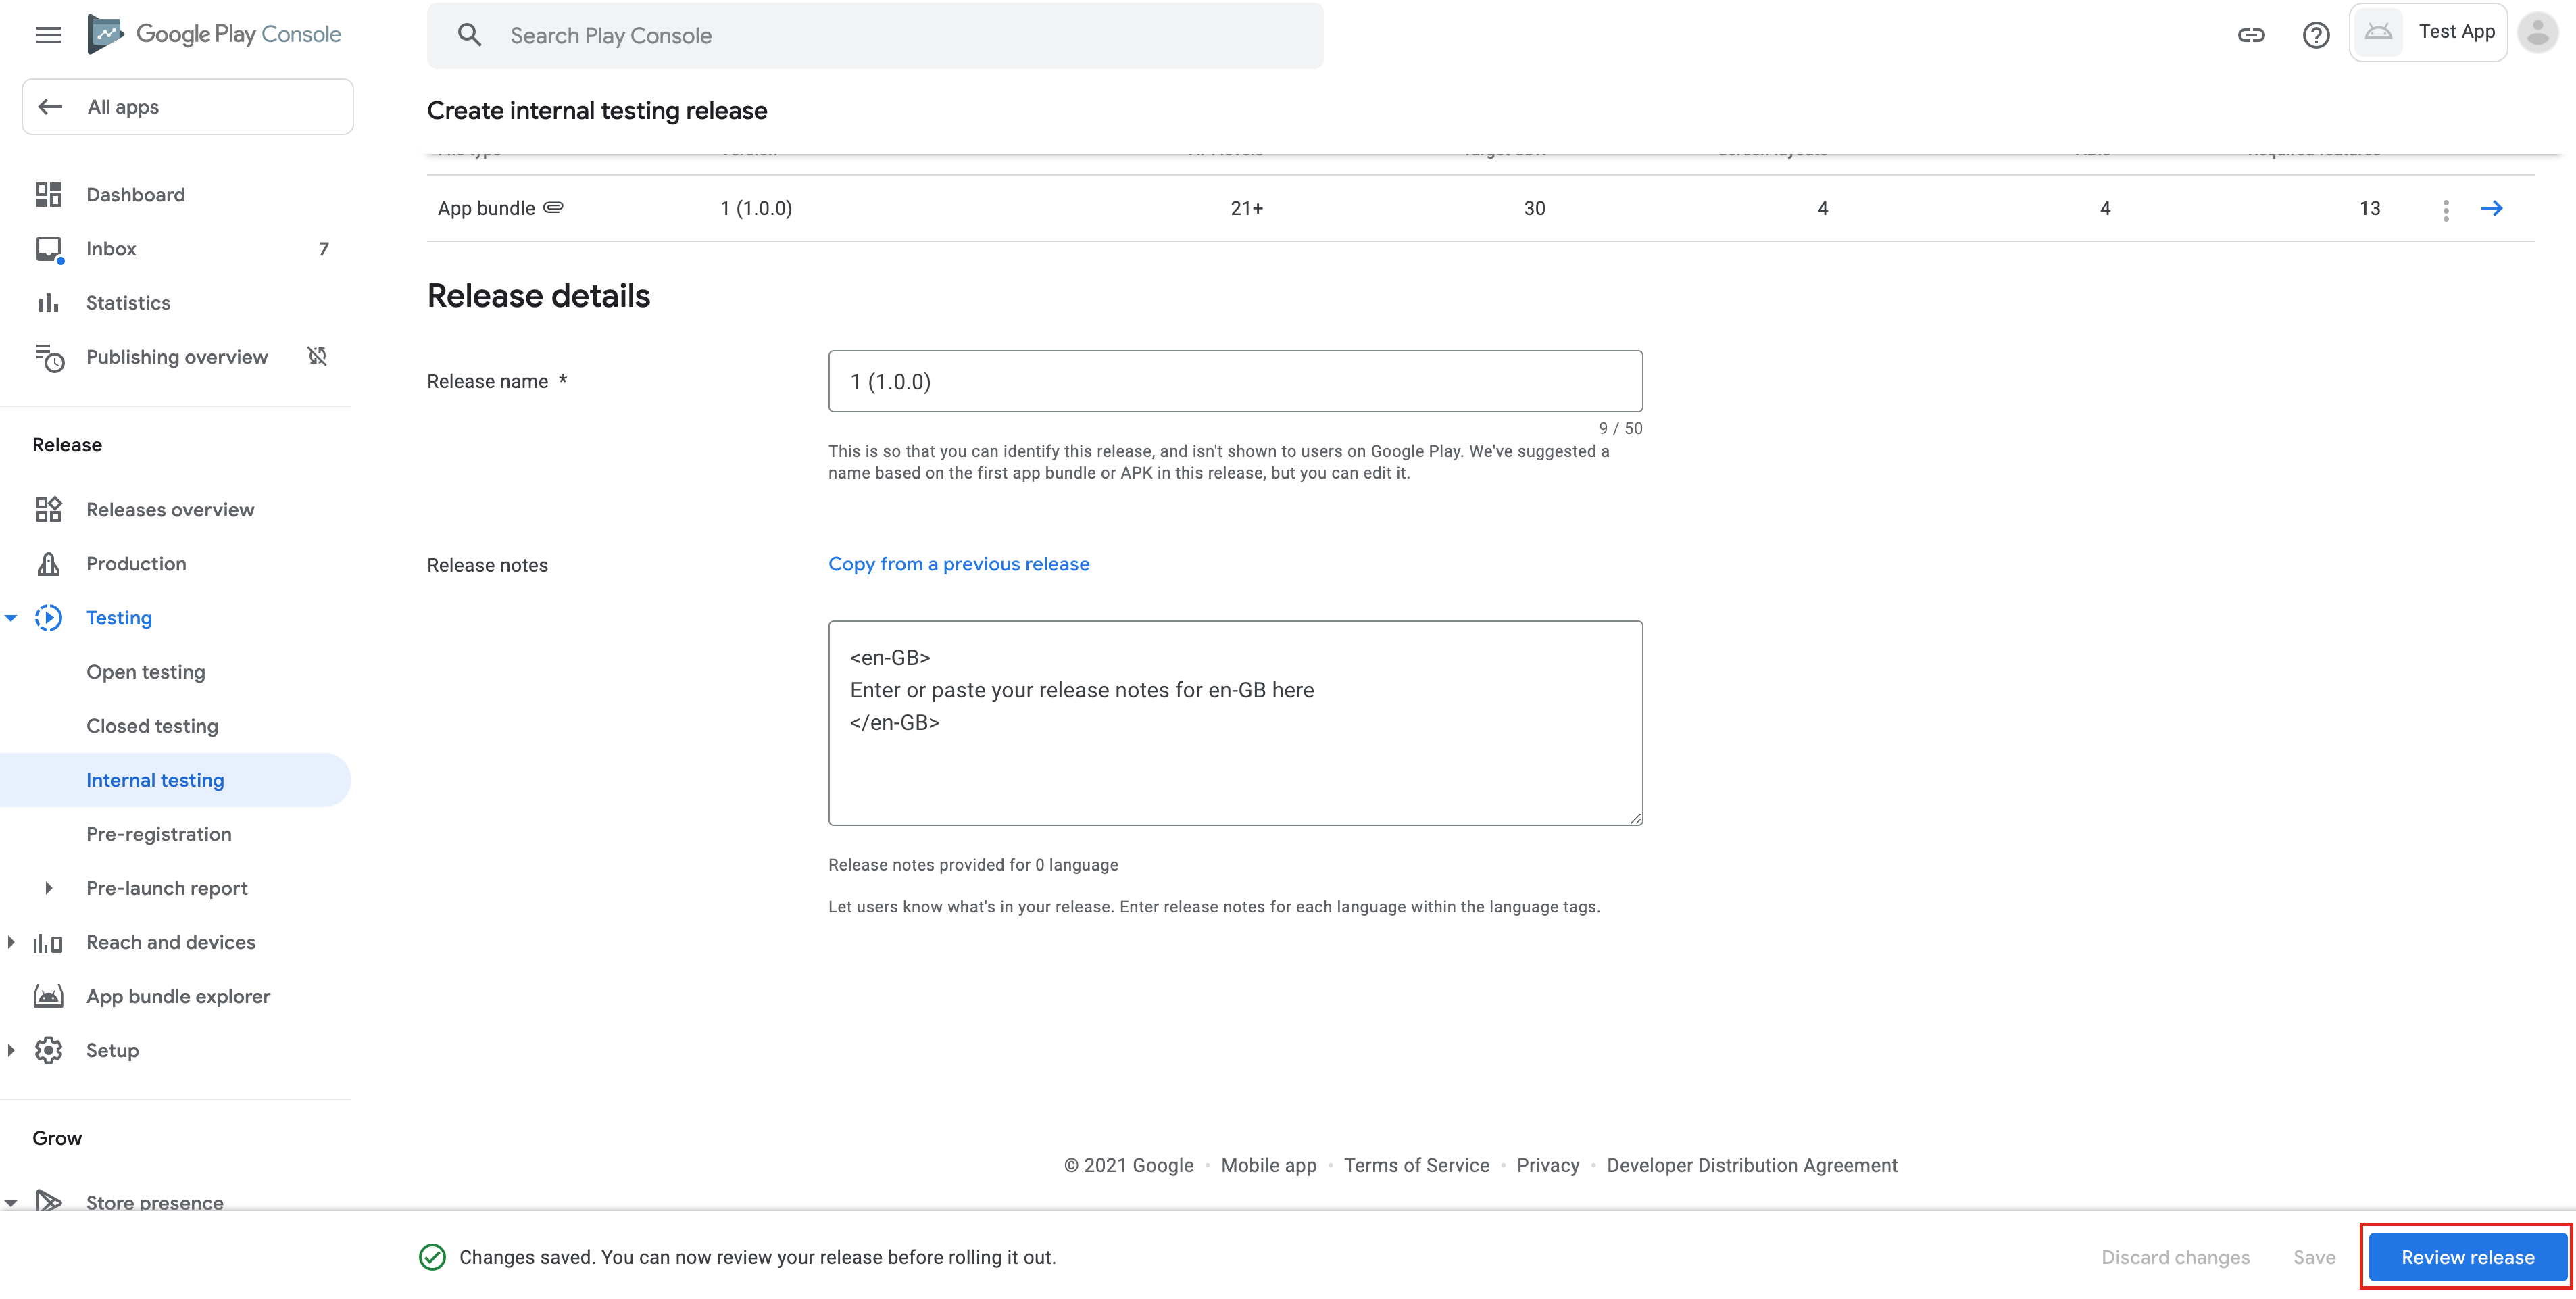
After submitting the test version, you might get an error. To remove it, go to the rules and pass a URL to the privacy policy.
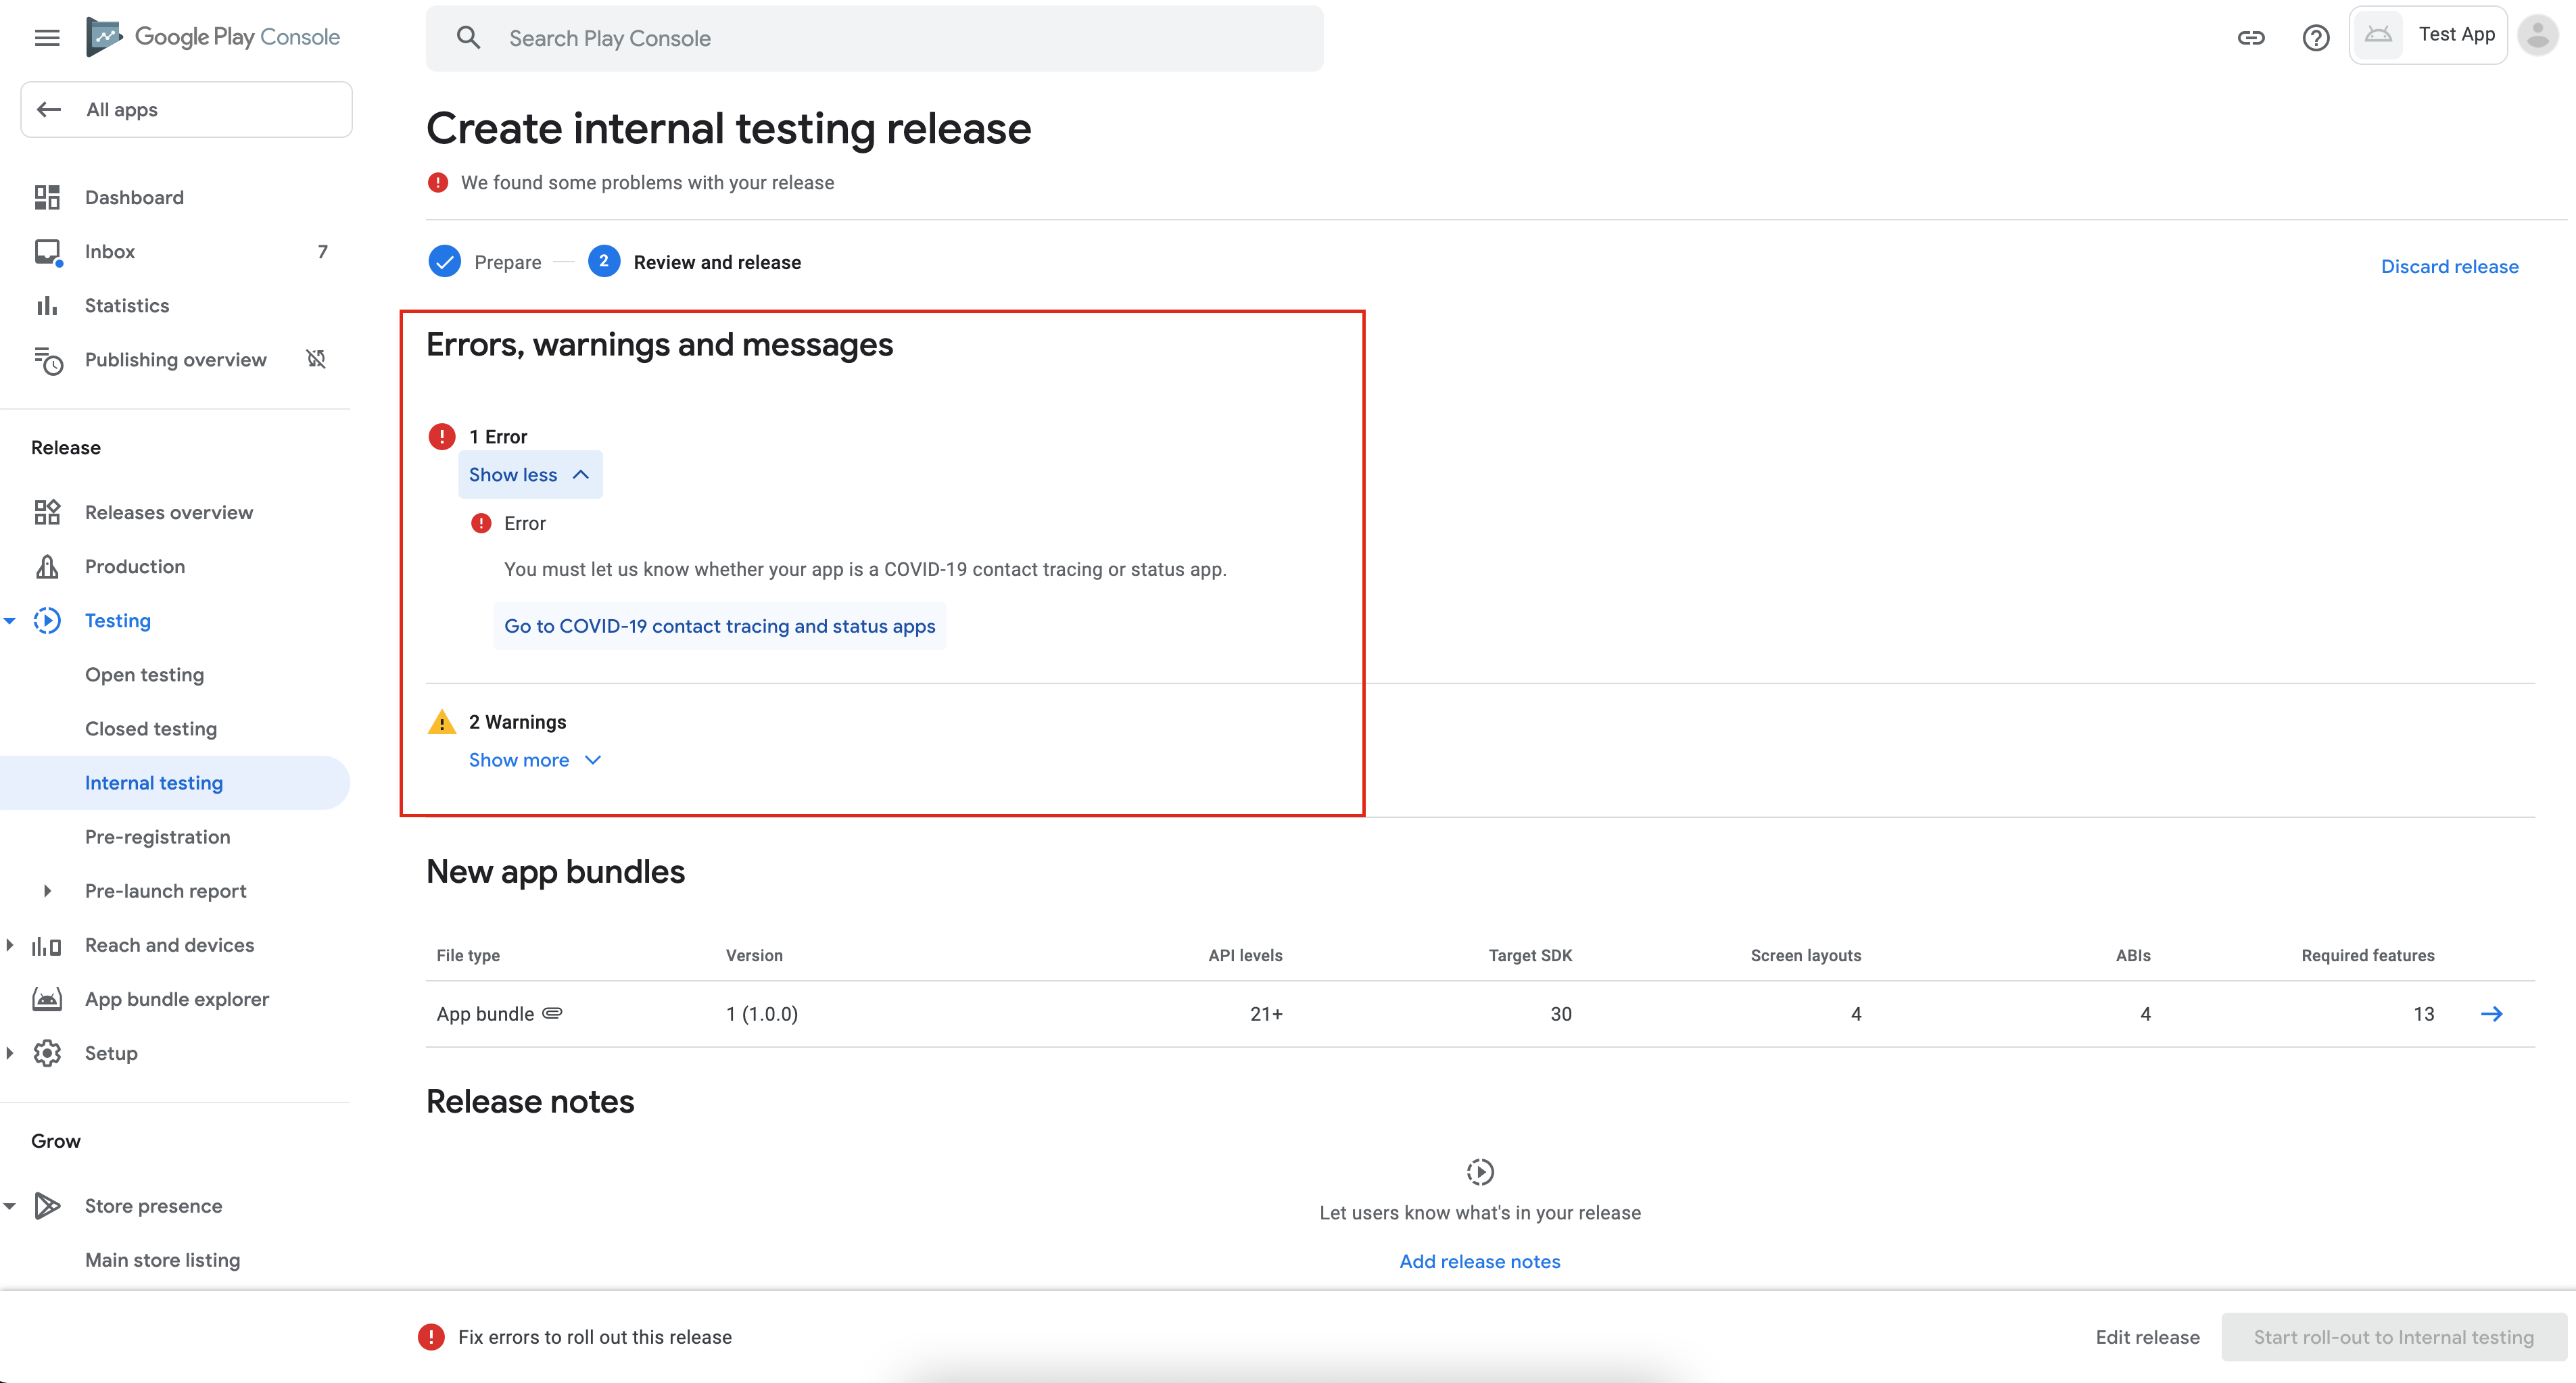

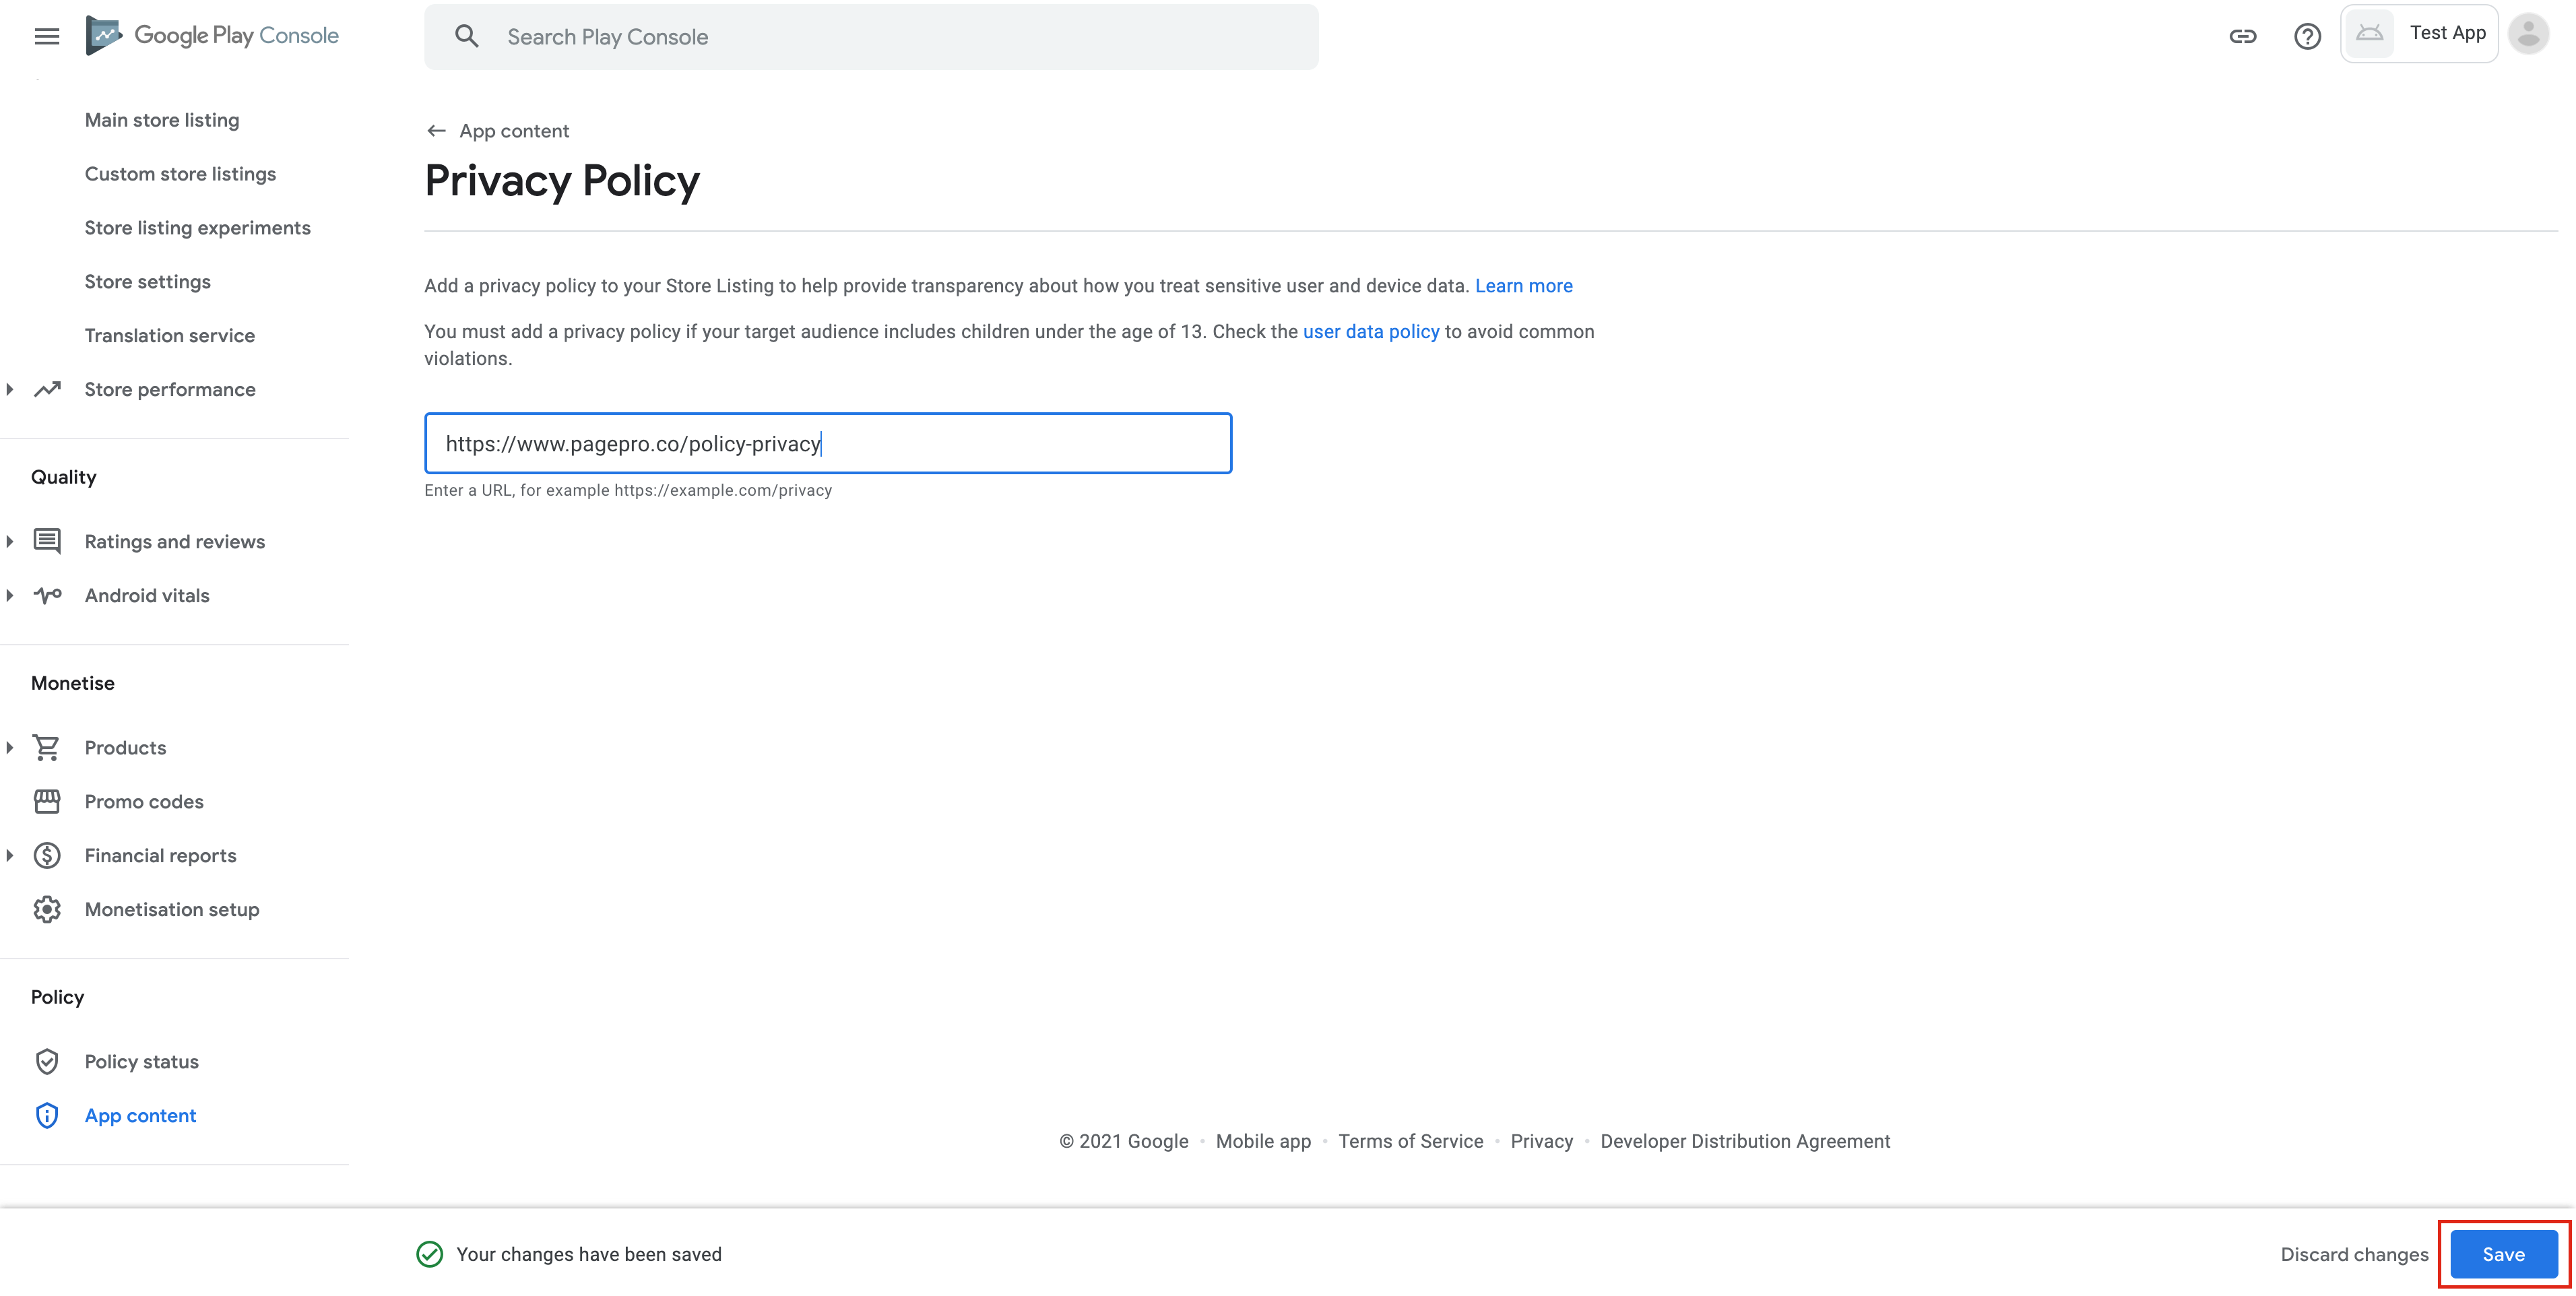
When you come back to the application tab, errors should disappear, and now you can submit the app.
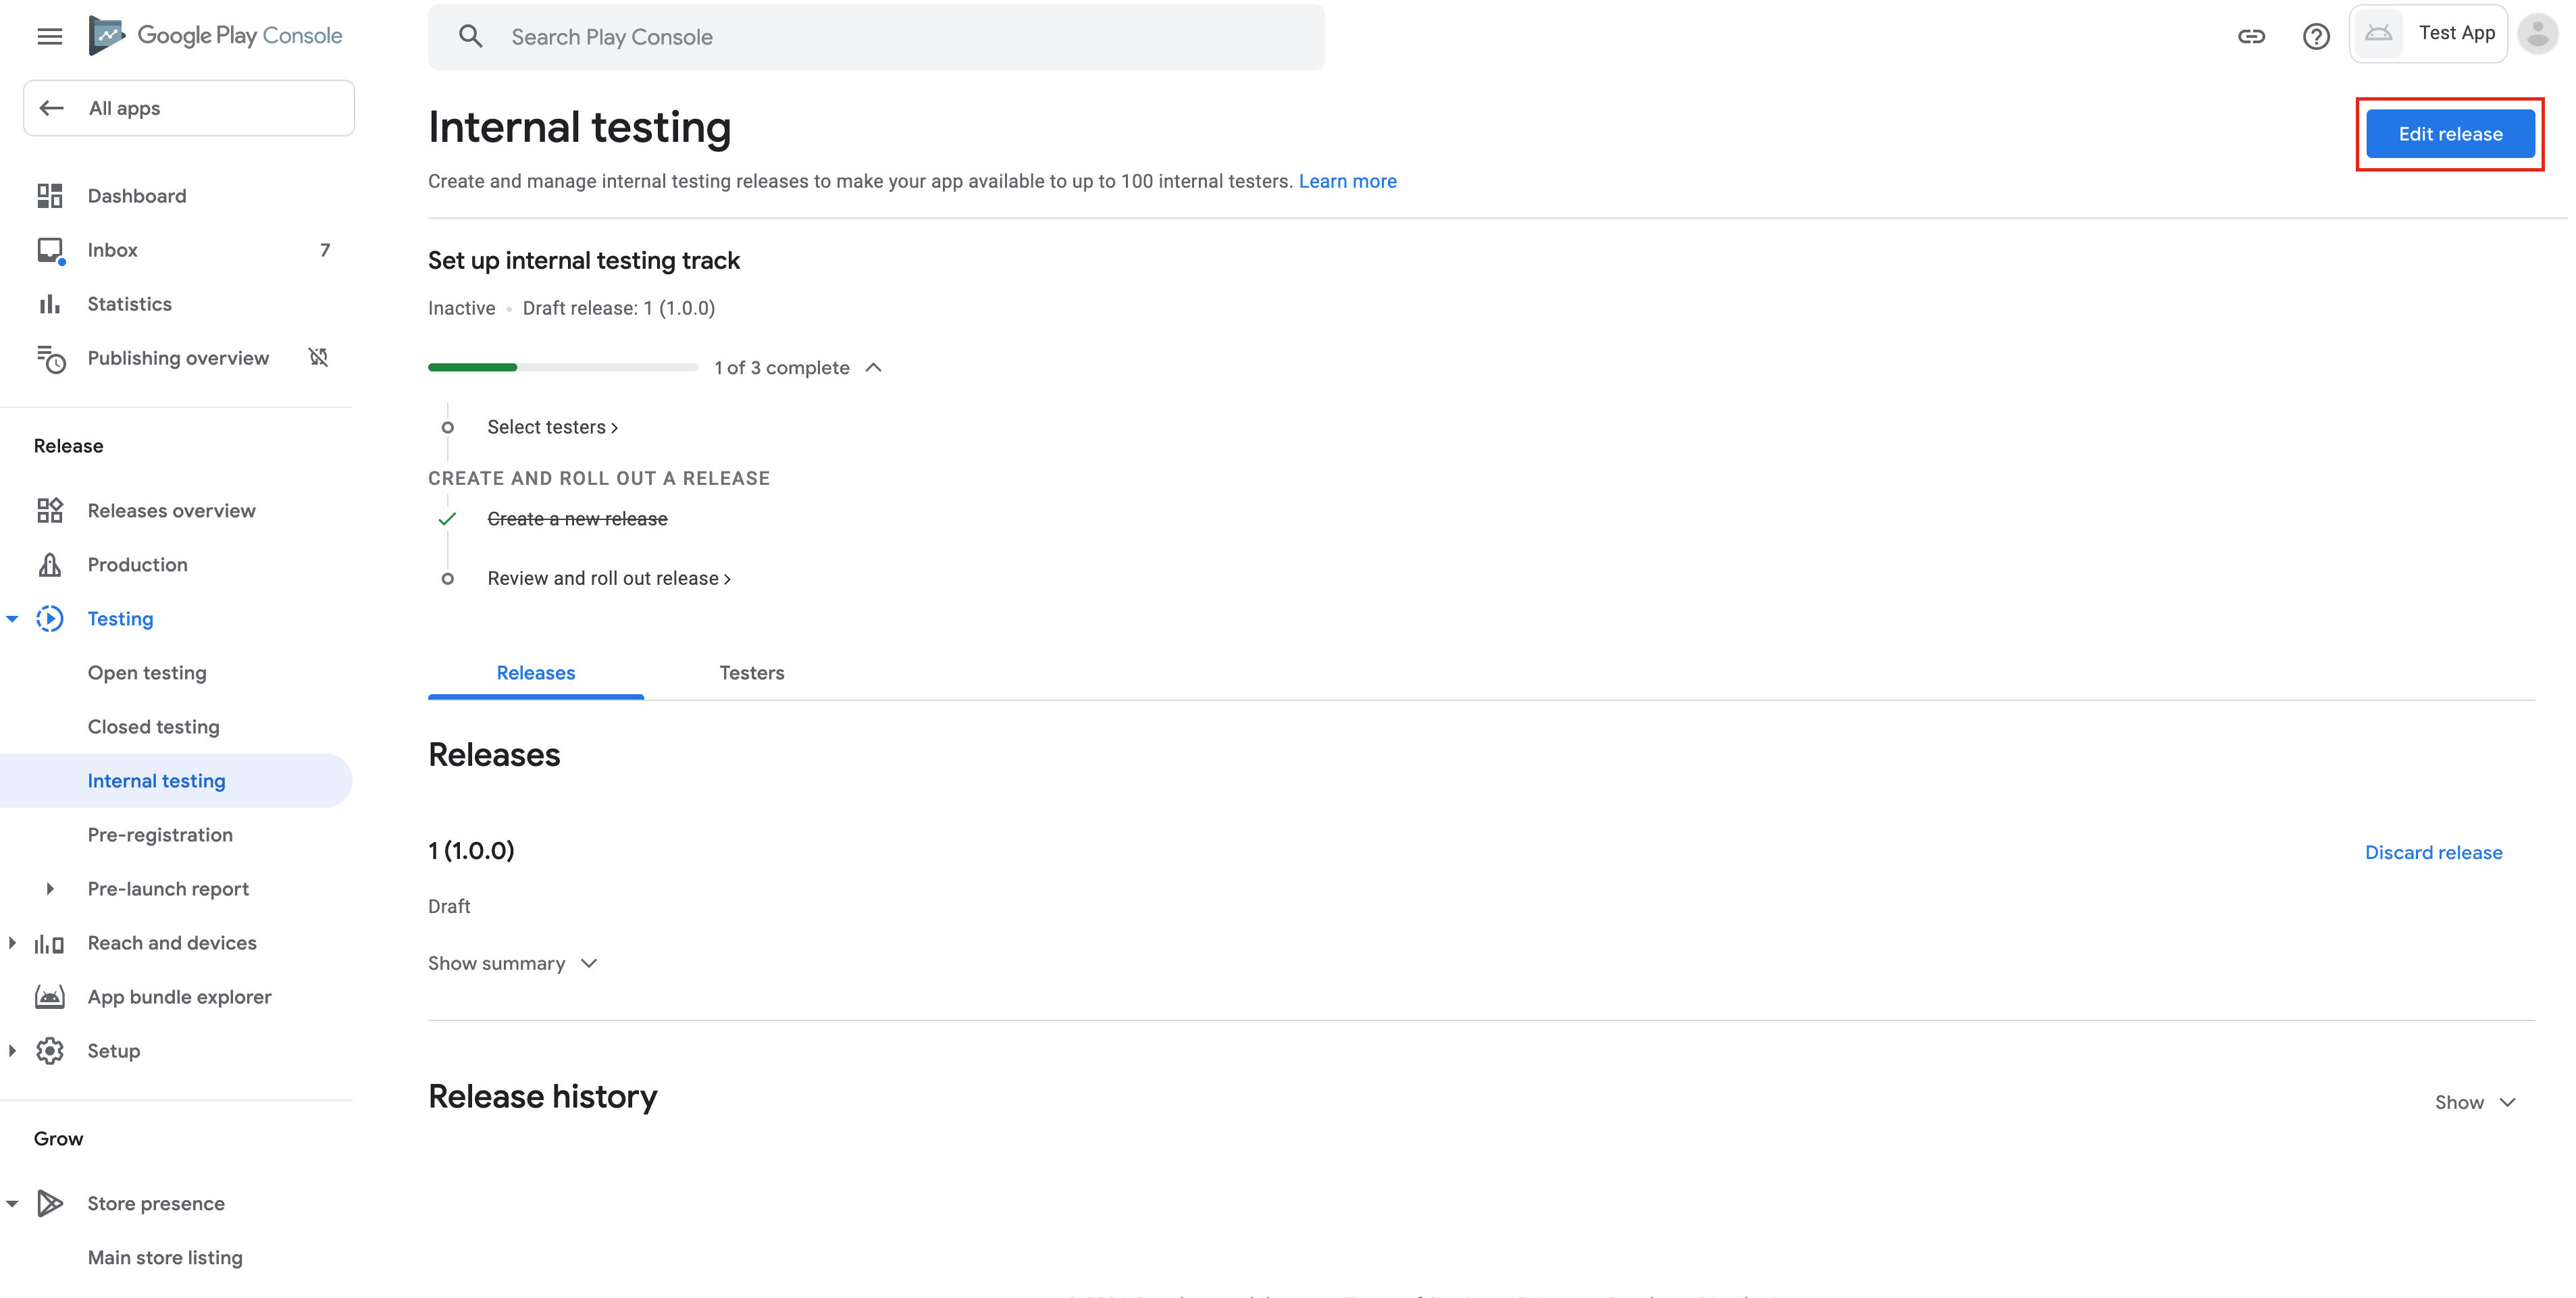
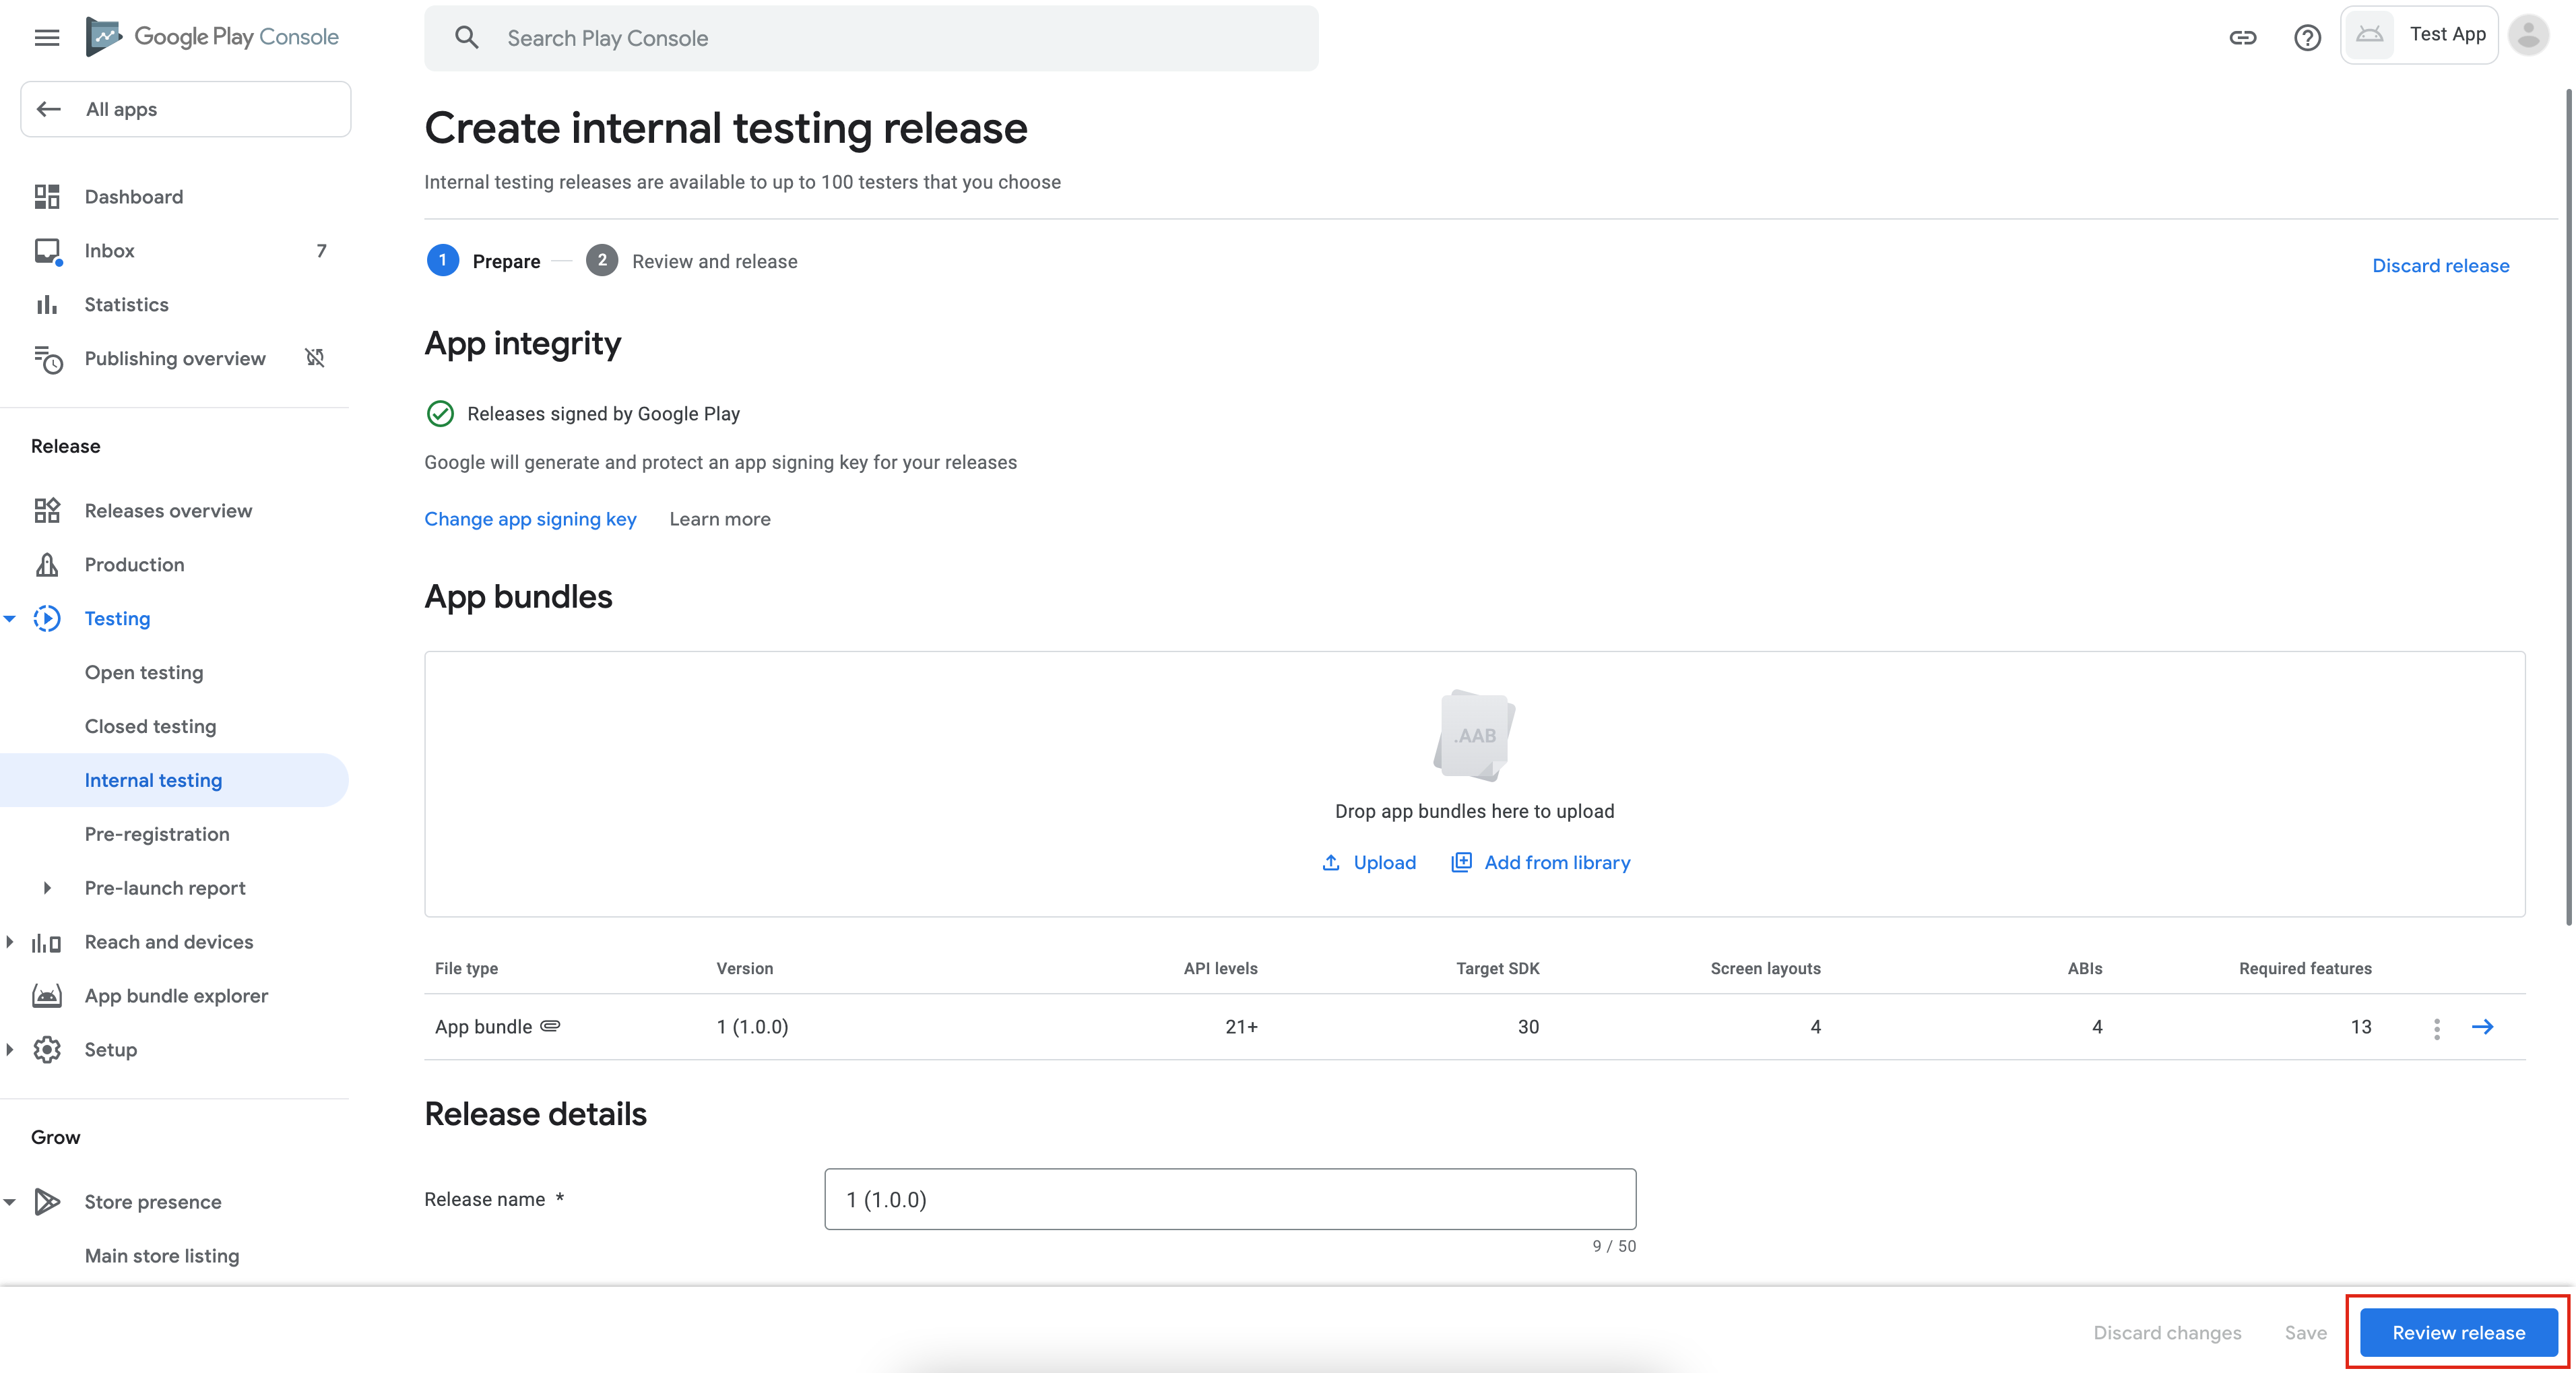
Add Testers
After submission, you have to add testers who can download and use the app.
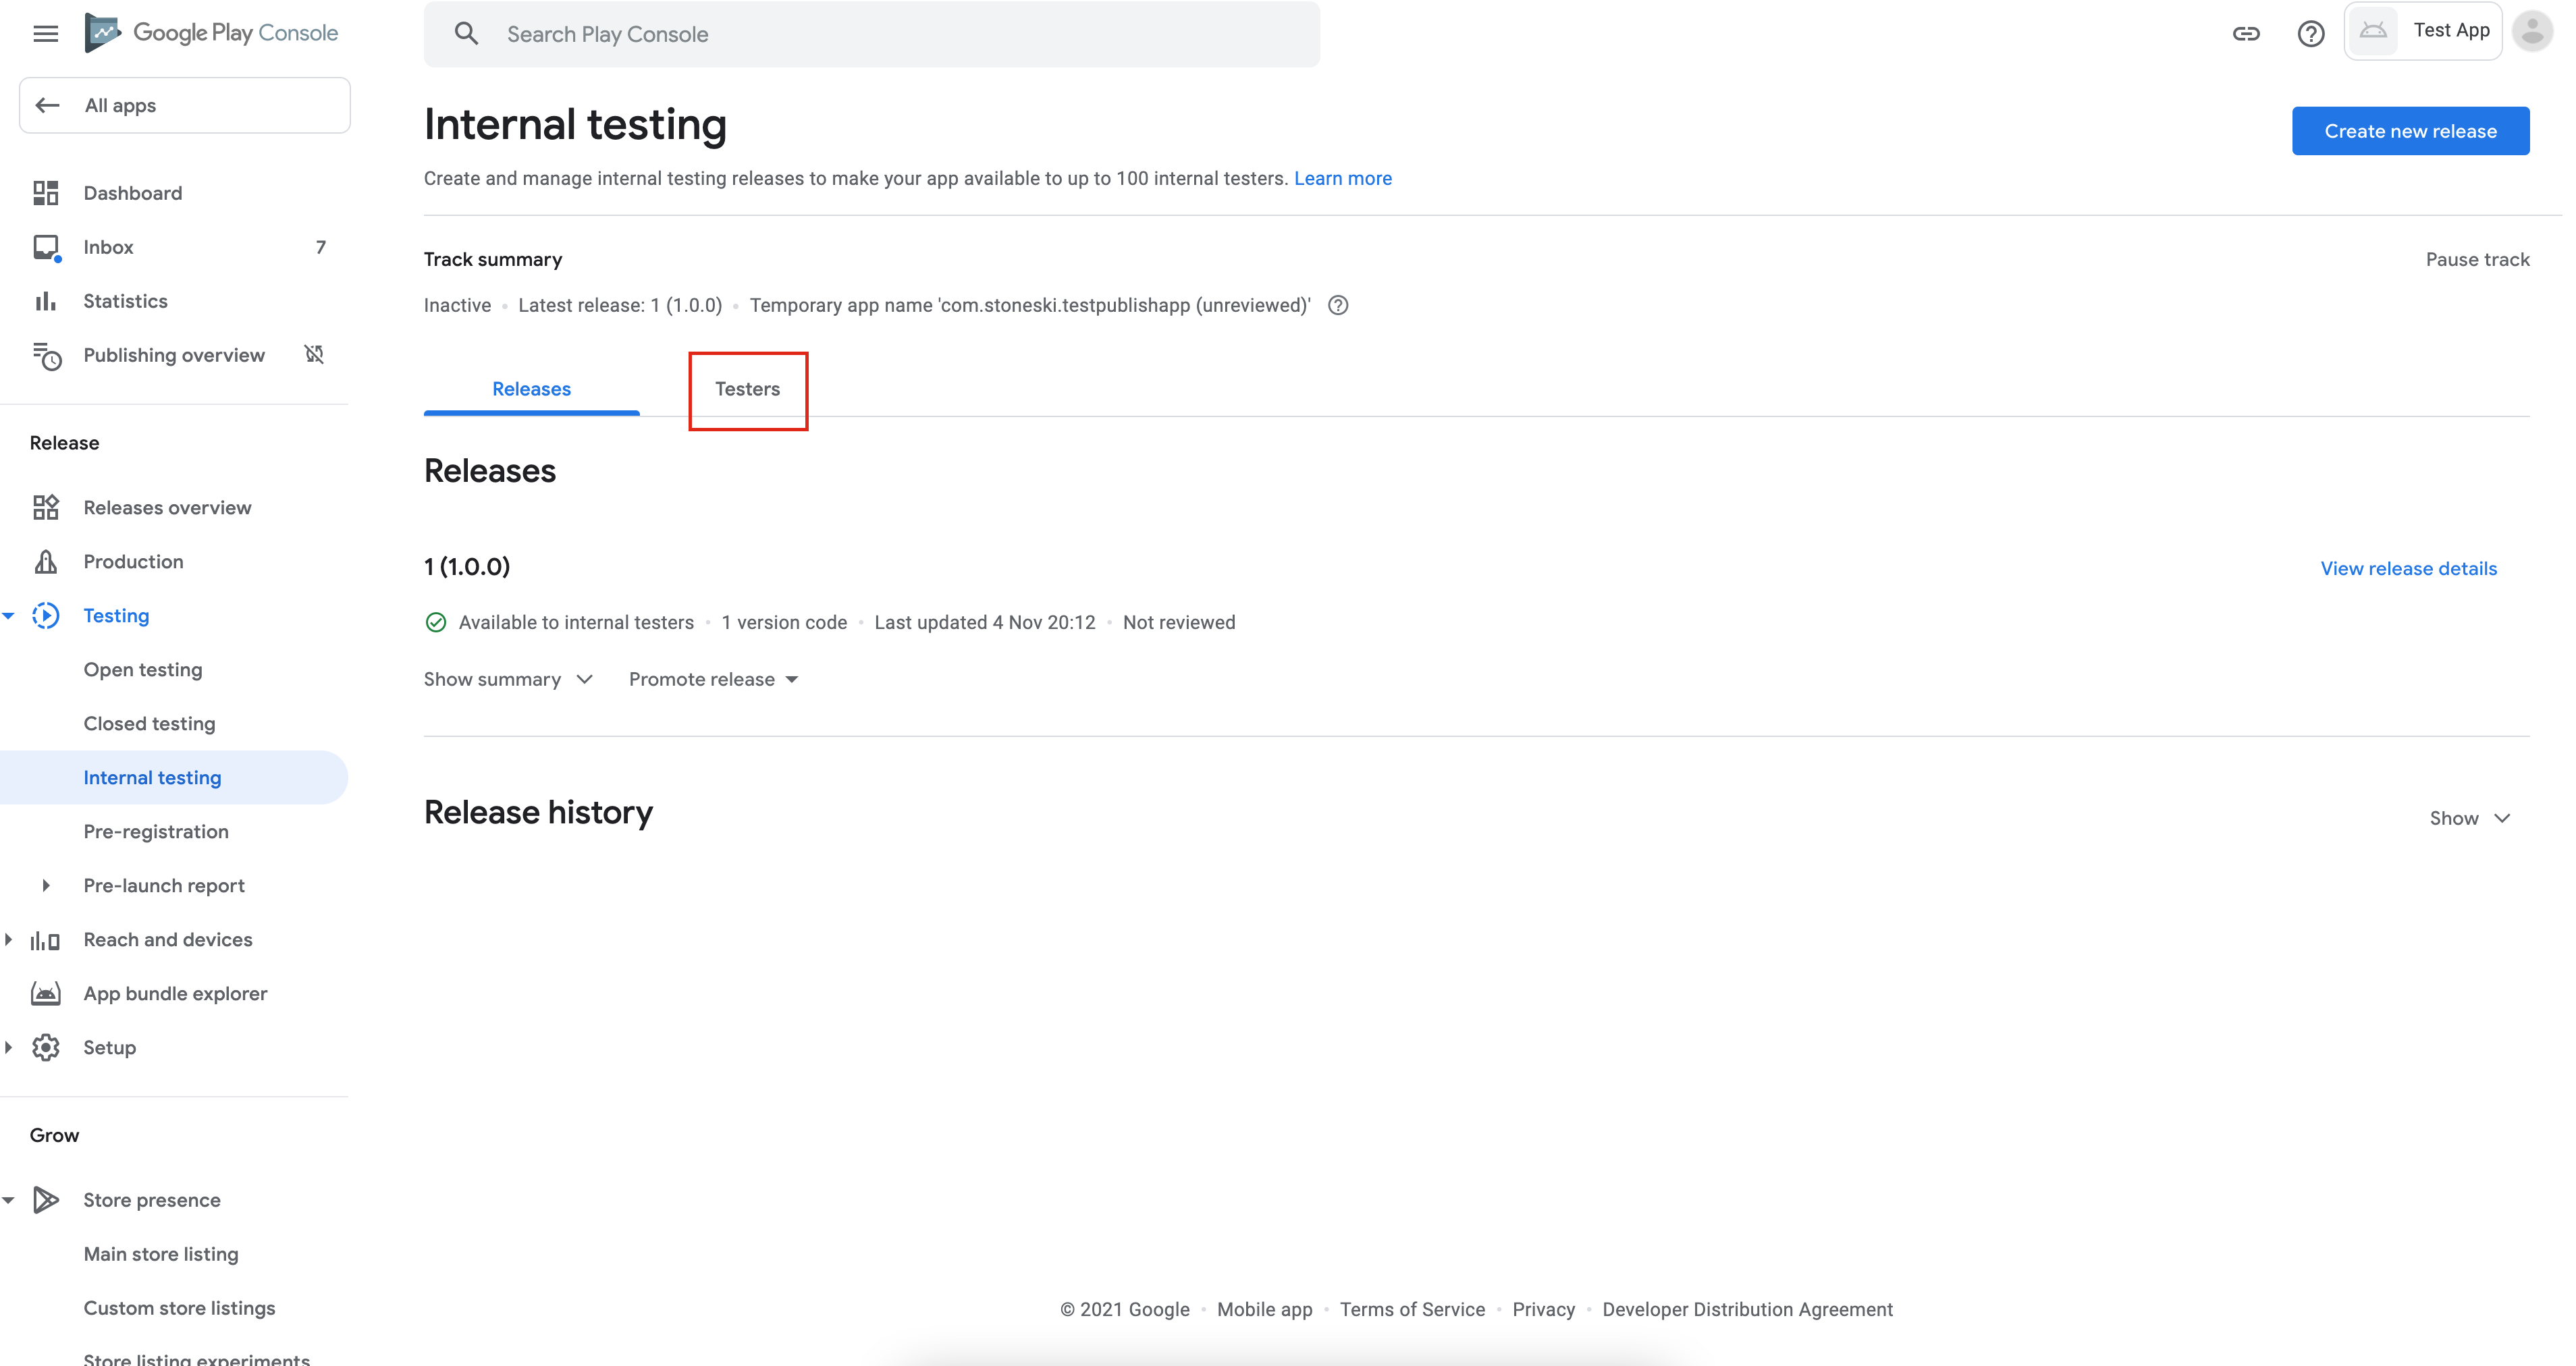
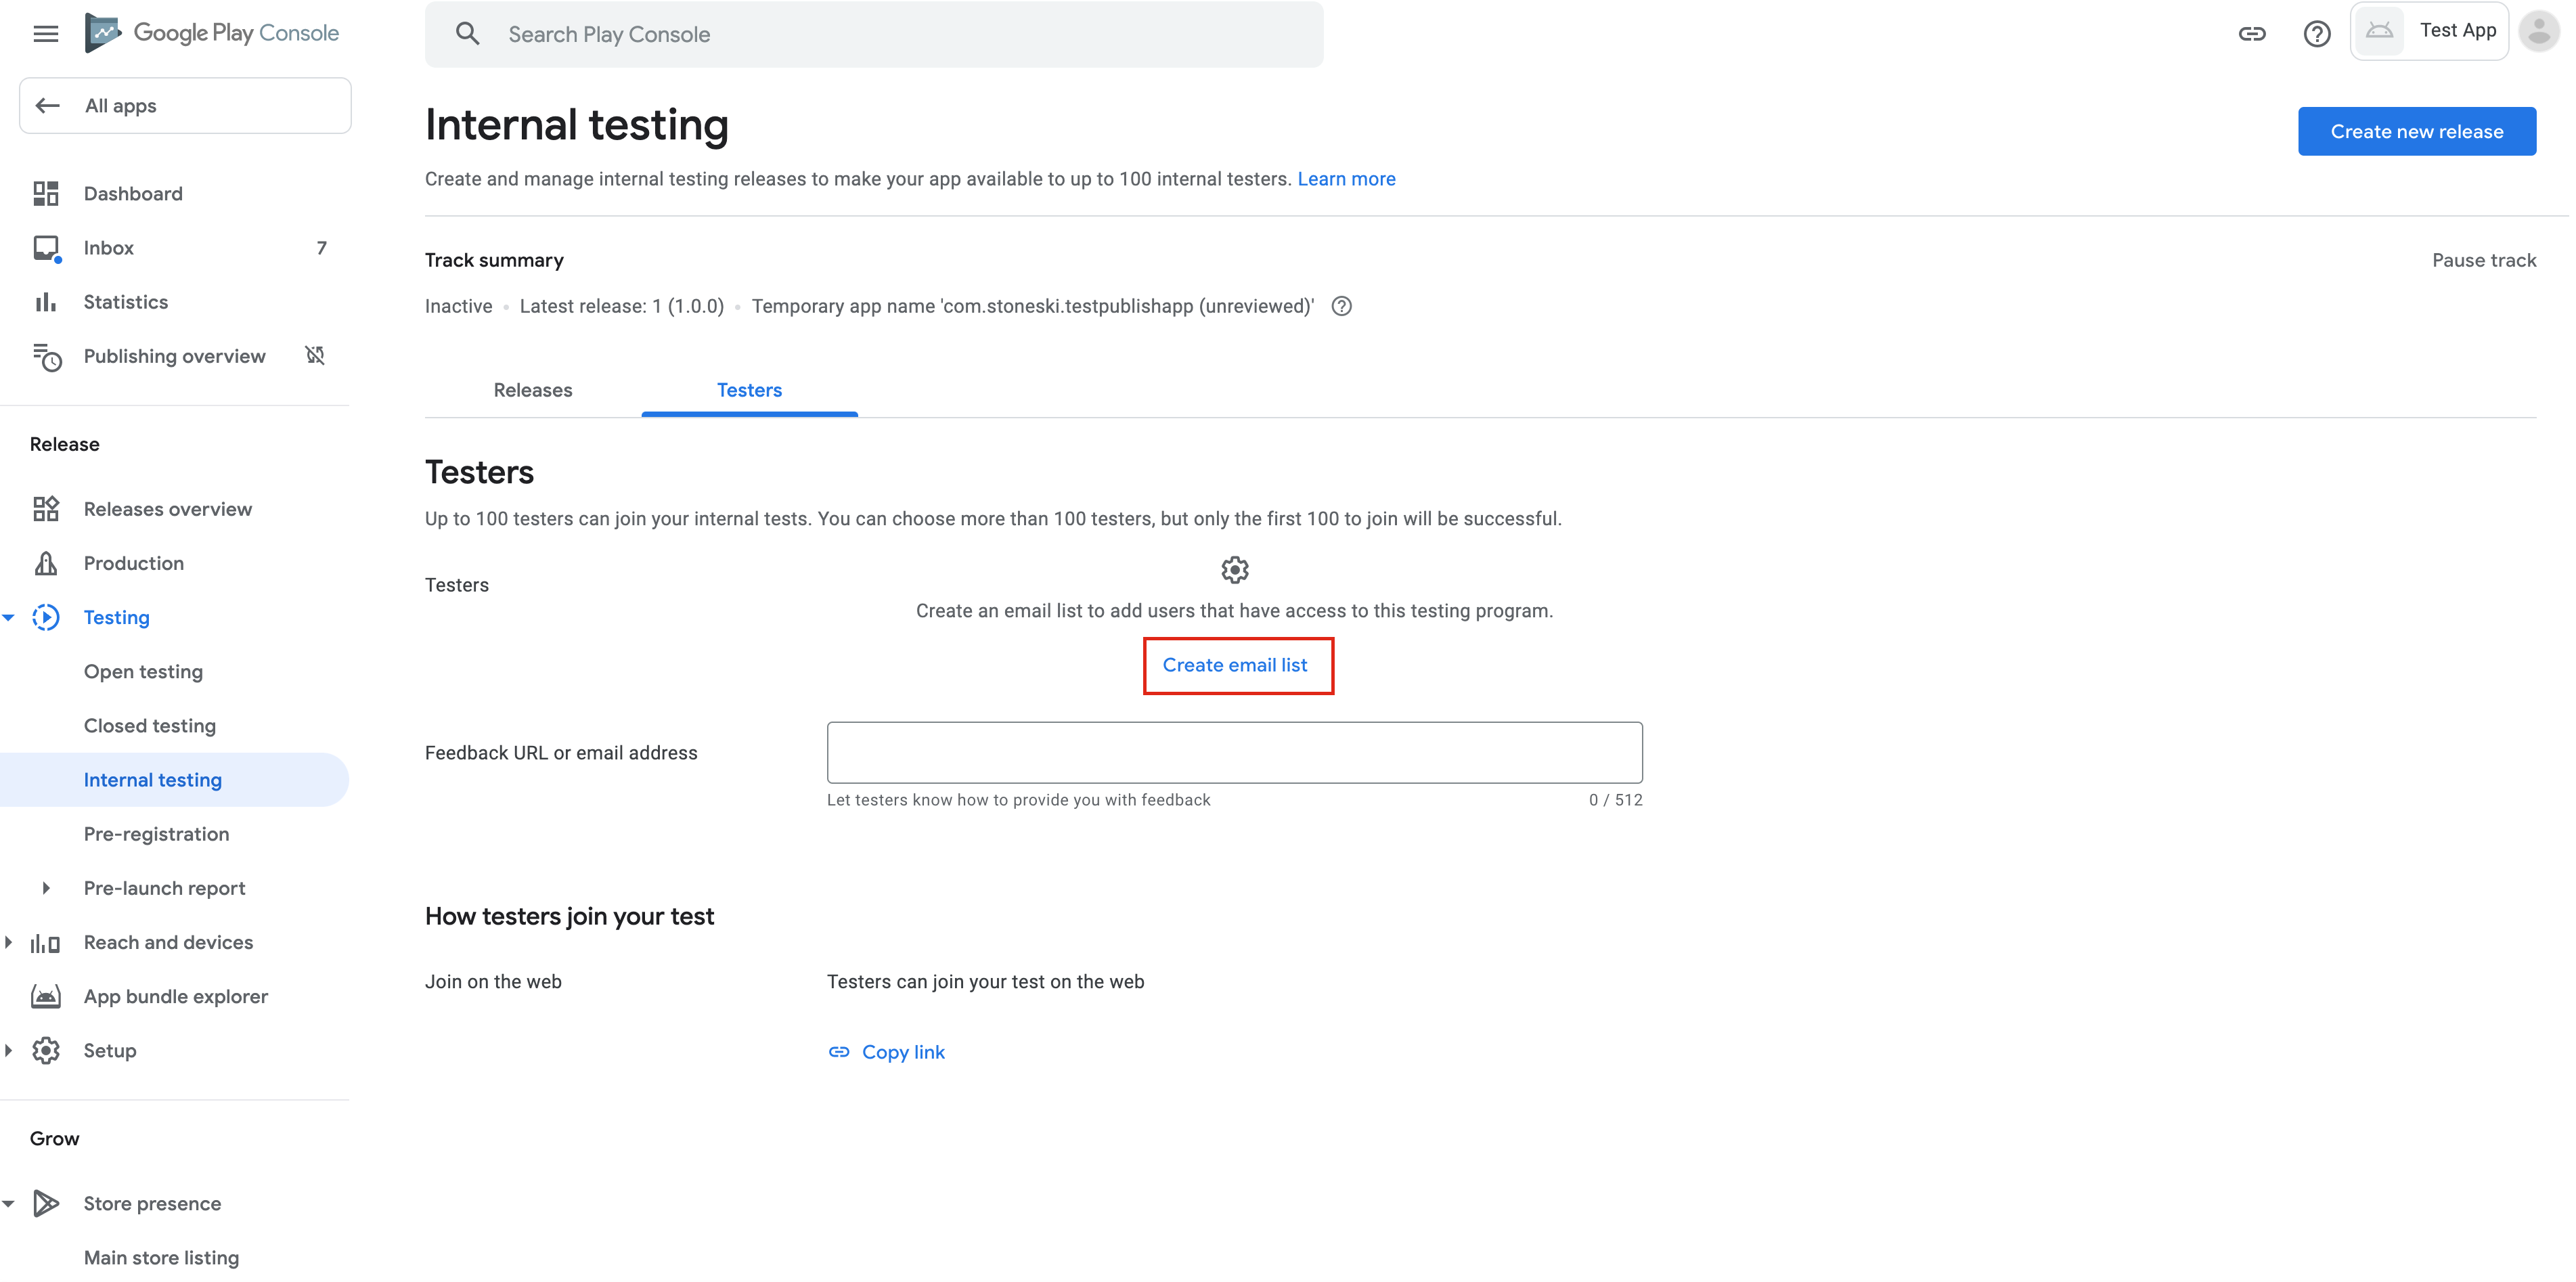

Afterwards, you should have access to the test application via the store.
How to Deploy a Build for App Store
Now that your app is on Google Store, we can move on to deploying on the iOS devices.
Setup Apple Connect
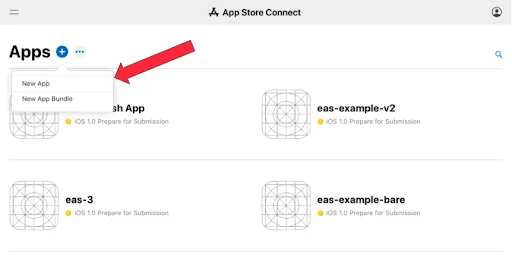
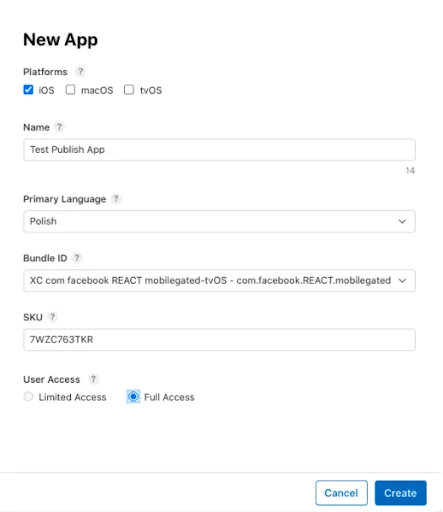
Go to App Store Connect and create an application.
Once that’s done, fill in the details about the application.
To submit the app binary created from our latest EAS Build, run the eas submit command: eas submit --platform ios

After running this command, we need to:
- Select a build from EAS. Let’s choose the latest build ID.
- Log in to your Apple account.
- Generate a new App Store Connect API Key if necessary.
And voilà! The submission process has started.

Now, we can go to the expo.dev page.
In the Submissions tab, you’ll see your submission waiting in the queue.

You can also click on a specific submission to view its details. Here, you can see the status and the build the submission refers to, among other things.

Now you can go back to the Apple Connect Store and submit the application.

If you click the submit button, you might see error messages again. Don’t worry, it is normal. You have to fill in information about the privacy policy.


The last step is to wait for the application to be approved and add it to the TestFlight.

Secrets to Successful Expo App Deployment
Publishing React Native Expo apps for app stores comes with its complexities. Hopefully, my article has provided exactly what you need to get your app out and into the hands of future users!
Keep my advice in mind for future releases, and if you need help from professionals, Pagepro has your back.
Ready to Make A Mobile App?
Frequently Asked Questions
Expo and React Native let you build apps that runs on both platforms. Most core components and APIs work the same across Android and iOS, and Expo handles much of the platform-specific setup.
You can preview and test your app on both platforms using Expo Go or EAS Build for production.
Expo is a framework and platform built around React Native. It helps developers build and deploy mobile apps without the need for native code.
You can read more about Expo in this article.
Publishing Expo app requires you to:
1. Create an Expo account.
2. Configure your project via app.json (including fields like bundleId, version, and icon).
3. Use EAS CLI to build your app with eas build.
4. Log into your Apple Developer and Google Play accounts to provide credentials.
Submit your app using eas submit to App Store Connect or the Google Play Console.
Yes, it’s free.
To build and publish your Expo React Native app to the App Store or Google Play Store, you’ll need to use EAS Build and EAS Submit. These are part of Expo Application Services.
While Expo offers a free tier, some cases might need a paid subscription.
Publishing Expo app costs nothing when using Expo’s free tools, but you’ll still need:
1. An Expo account: Free (which you can upgrade for more features at $19/month)
2. A Google Play Console account: One-time $25 USD fee
3. An Apple Developer account: $99 USD/year
It’s possible to generate and submit app builds using Expo’s EAS Build and EAS Submit for free. If you exceed Expo’s free build limits or if your app uses over-the-air updates, you might get billed extra.
Apps with in-app purchases or subscriptions will have additional fees, depending on the platform
Yes, React Native is designed for cross-platform development, so you can write a single codebase that works on both iOS and Android.
If you’re using the managed Expo workflow, you won’t see the traditional android and ios folders. Expo handles native configurations for you.
If you need direct access to native code, you can run npx expo prebuild to generate these folders.
Read more
- How Expo Generates Native Code Before Compilation
- Migrating a Native App to React Native? Here’s How Expo Can Help
- 40 Best Expo Examples
- How to Build a Music Streaming App with React Native